Easy Homemade Pizza Dough!
This recipe makes enough dough to make 2, 12-inch pizzas. I recommend making this in a stand mixer or mixing and kneading by hand.
If you’re looking for a recipe that makes 1, 12-inch pizza that could be made in a stand mixer or food processor – see this recipe.
This dough freezes very well. You can freeze one or both doughs for later use.
WHAT FLOUR SHOULD I USE FOR PIZZA CRUST?
Different flours can give you slightly different crust results. These are the various flour and flour combinations I’ve tried:
(All three had an overnight rise/ferment in the refrigerator and were baked on a preheated pizza stone at 475 degrees F.)
- All-Purpose Flour – You probably already have this flour in your pantry – handy! The dough was not hard to roll/stretch out. Results were a chewy, “bready” crust.
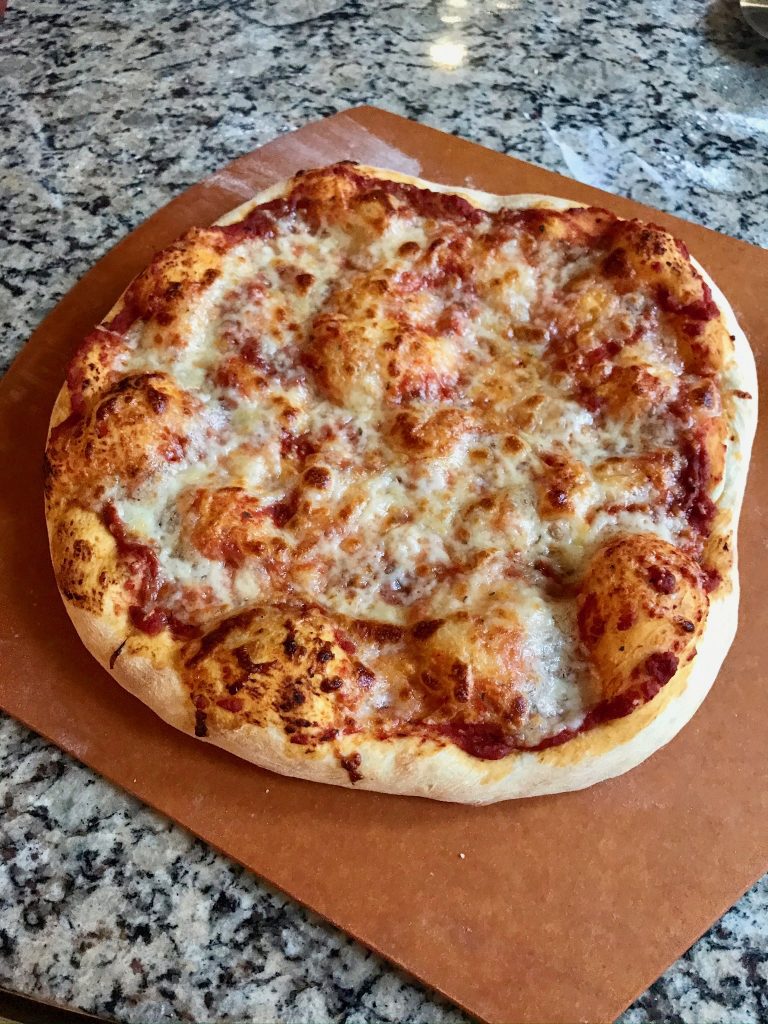
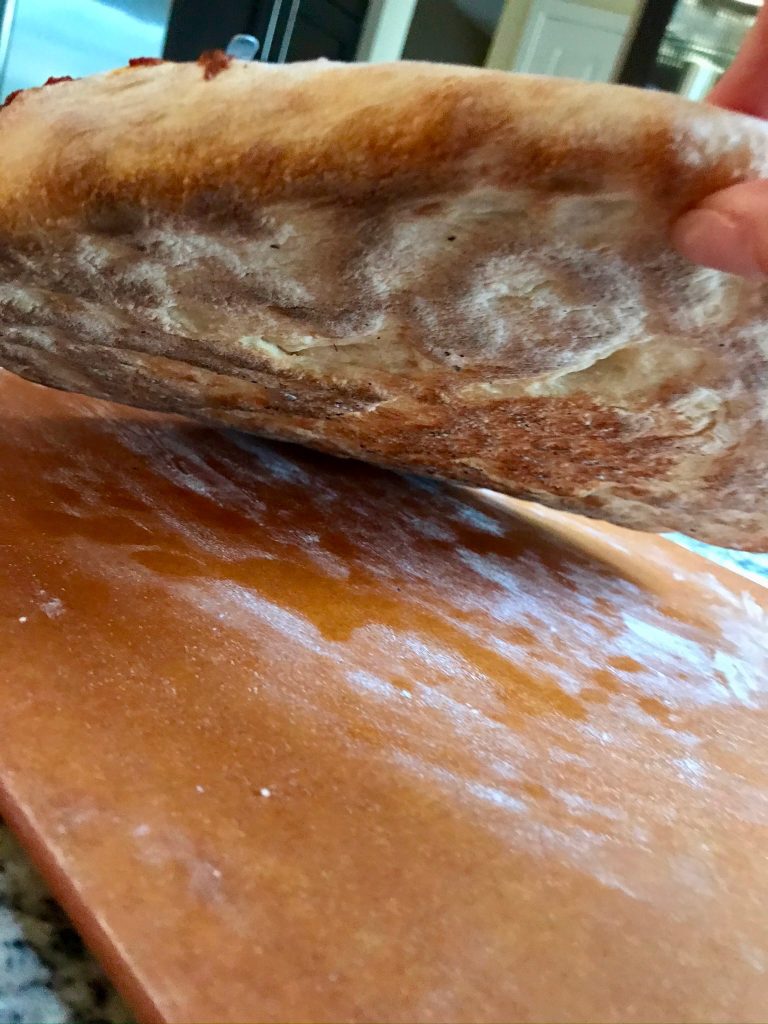
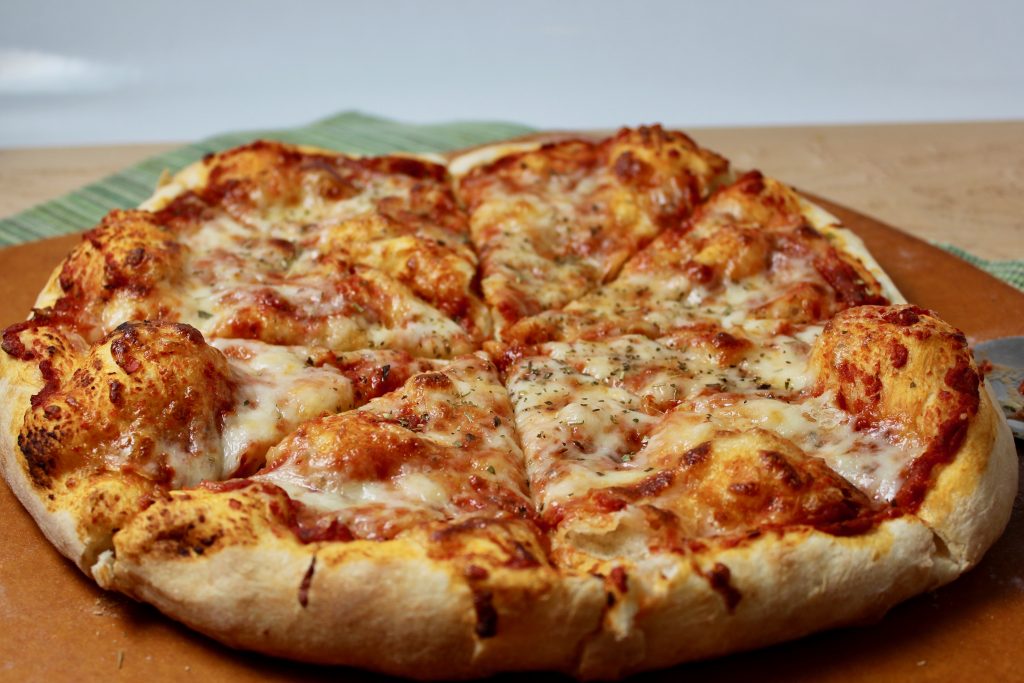
- Bread Flour – Bread flour is available at most grocery stores. This dough wants to spring back a bit when stretching out. (When this happens give it a rest for several minutes and come back to it.) When baked, this crust gets a nice crunch and char on the bottom (see pic below), chewy in the center, lots of bubbles in dough. Lighter in texture. This is my favorite.
- Italian 00 flour + All-Purpose Flour – 00 flour can be harder to source and more expensive. It’s a very finely milled flour which is nice for pasta dough. For pizza crust, I mix it with half all-purpose flour as it doesn’t brown very well in our home ovens – commercial pizza ovens are much hotter. To me, this crust seemed a little denser than the bread flour crust, but when taste testing side-by-side the other 3 members of my family liked the flavor of this crust the best.
This Pizza Crust was made with bread flour and had an overnight rest in the refrigerator. It was cooked at 475 F. on a pizza stone.
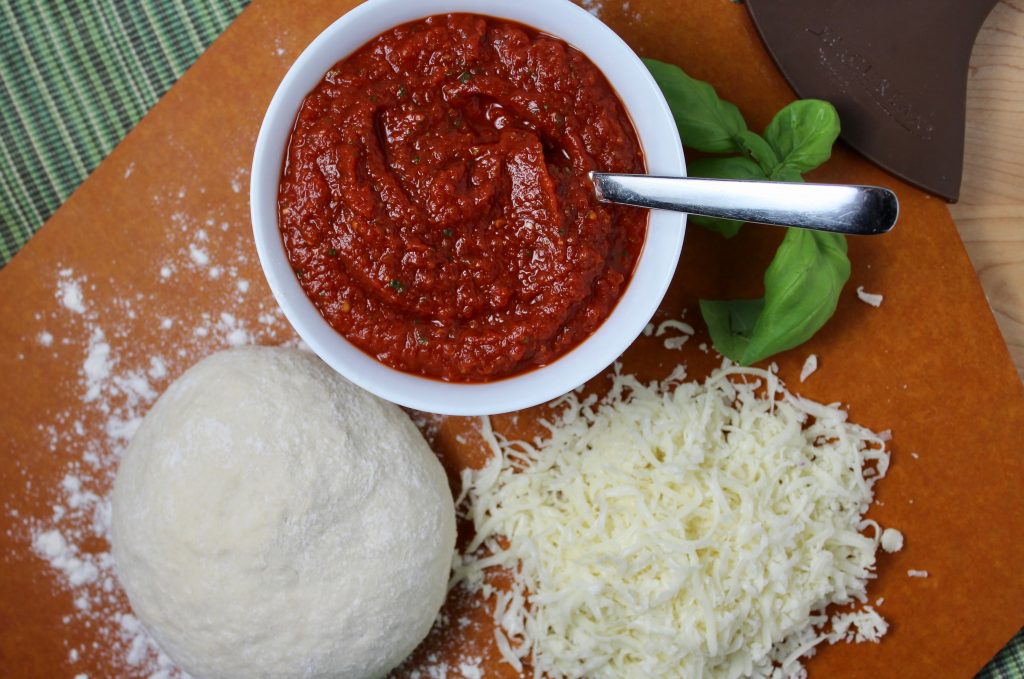
You can make a quick homemade pizza sauce with your food processor or blender – it tastes so much better than anything you’d buy in a can or jar. Recipe Here!

Perfect Picture for Pinning: ⬇️
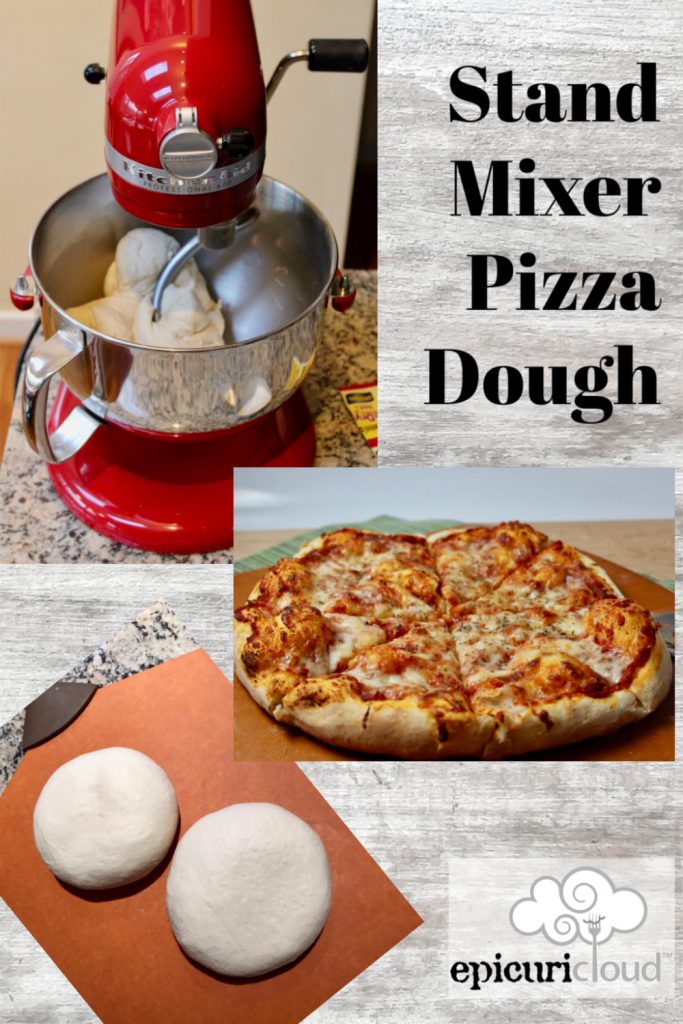
Stand Mixer Pizza Dough - Makes 2, 12-inch pizzas
Ingredients
- 1 1/2 cups water (room temperature) plus more if needed
- 2 tablespoons olive oil plus extra for greasing bowl
- 4 1/2 cups flour + more if needed see notes for flour options
- 1 package (.25-ounce) or 2 1/4 teaspoons instant yeast (rapid rise)
- 1 1/2 teaspoons salt
Instructions
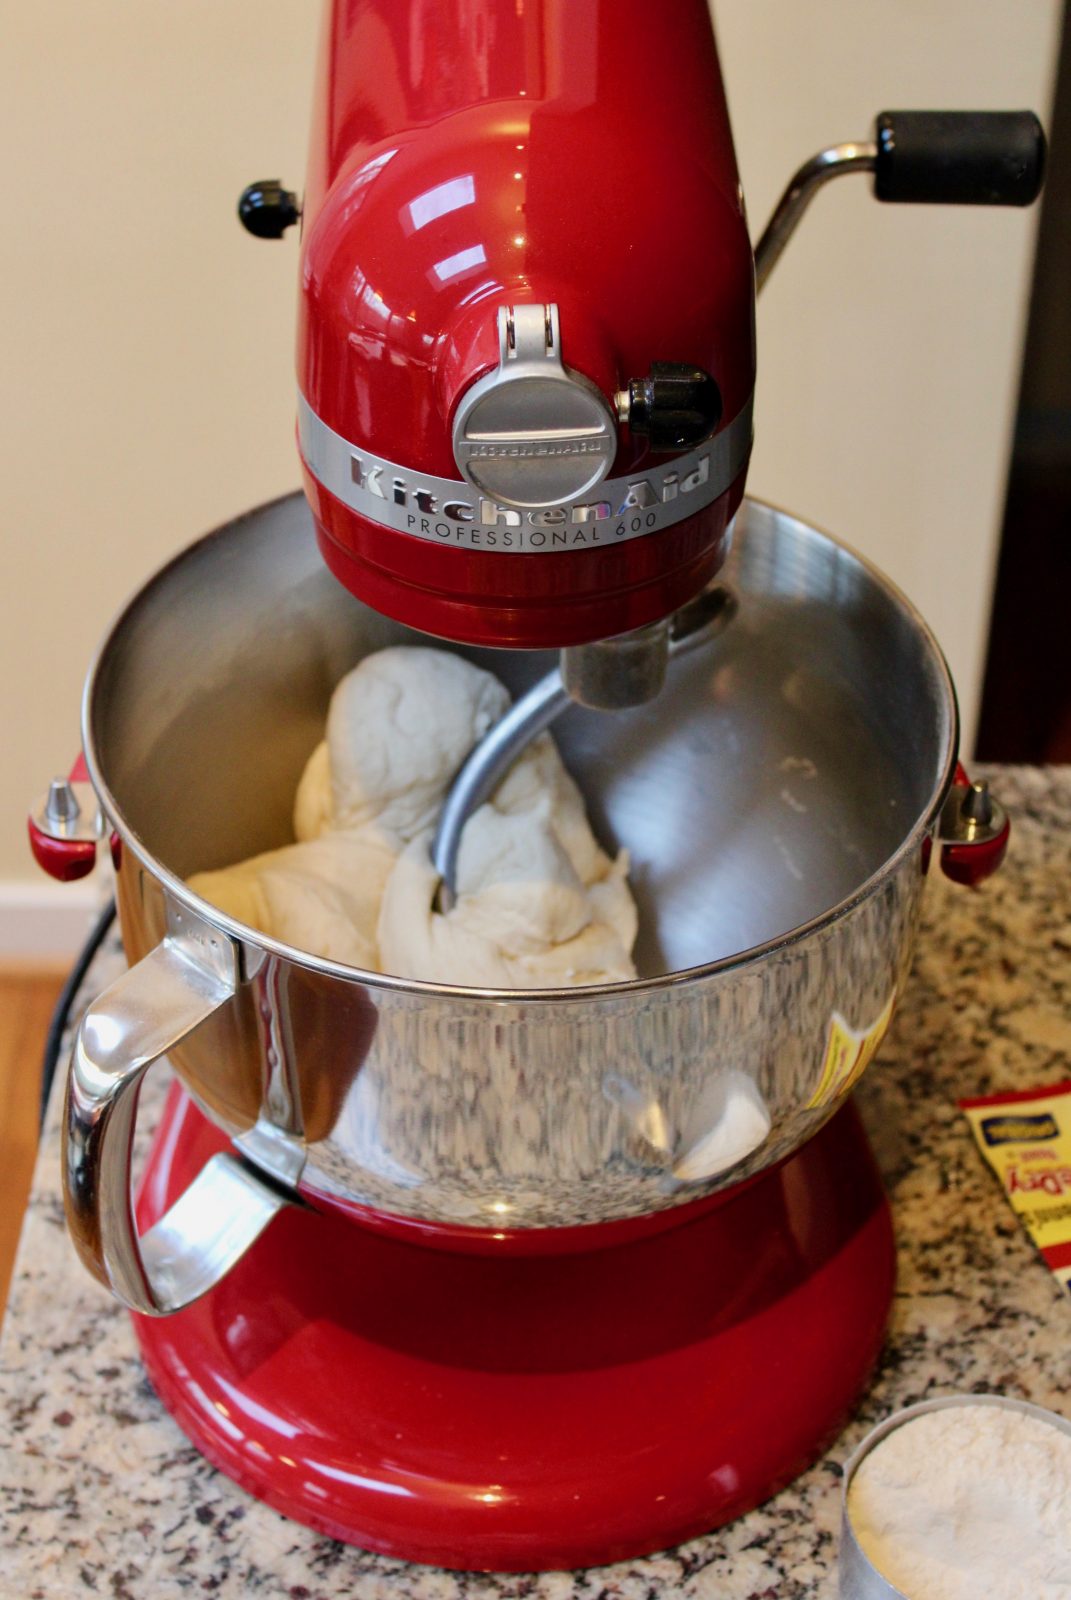
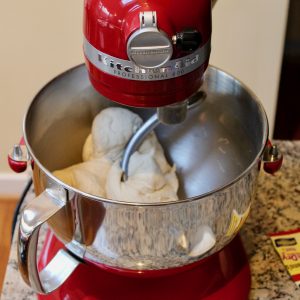
- For this amount of pizza dough, I prefer to mix/knead this in my stand mixer.
- Combine oil and water in a liquid measuring cup.
Stand Mixer:
- Use dough hook. (or start with flat beater and mix just until wet and dry ingred. come together into shaggy texture - then switch to dough hook) Use only Speed 2. While stirring the dry ingredients, pour the oil and water in a slow steady stream. Knead dough on speed 2 for 3-5 minutes or until dough forms a smooth ball and cleans the side of the bowl. If dough seems too wet or dry, you can add a little flour or water.
Mixing/Kneading By Hand:
- In large bowl, stir together dry ingredients, then stir in wet ingredients. Once mixture forms shaggy texture. Turn out onto lightly floured surface and knead 5-7 minutes or until dough becomes smooth and supple. (not too sticky.)
First Rise/Ferment:
- If refrigerating dough overnight: Place dough in lightly greased zip-top bag and refrigerate for 8-12 hours. If making pizza the same day, place dough in lightly greased bowl, turn dough in greased bowl to coat with oil. Cover bowl with plastic wrap and set in warm place to rise. Allow dough to rise 1 - 2 1/2 hours or until doubled in size.
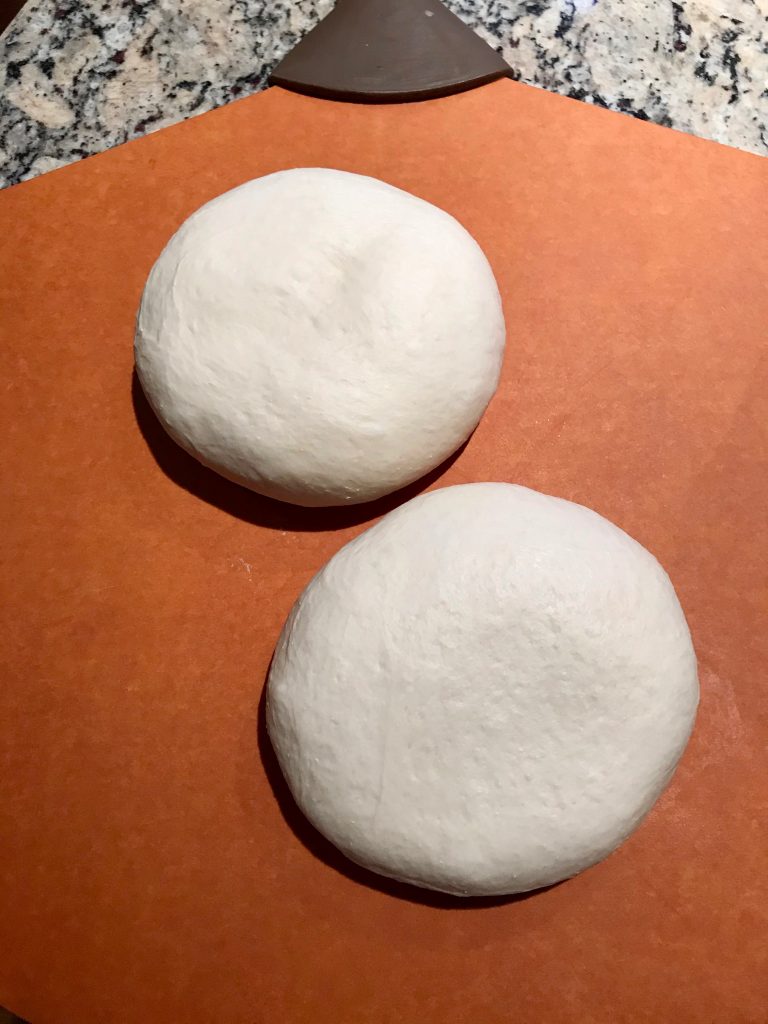
Form Ball/Second Rise-Rest:
- Remove dough from refrigerator or bowl, gently press to deflate. Divide dough into two pieces. (You can freeze one at this point if you like.) If sticky, sprinkle lightly with flour and form into a ball. Cover balls with plastic wrap and allow dough to rest/rise about 30 min. - 1 hour or longer if it was refrigerated. Dough should be room temperature and puffy. While dough is resting/rising preheat oven to 450-500 degrees F. (I usually use 475) If using pizza stone, place on bottom rack of oven for preheating.
Form Pizza & Bake:
- Using hands or rolling pin, gently stretch/roll dough to round shape. If dough is very stretchy and keeps springing back, cover and let rest for about 15 minutes. Top as desired and bake for about 7-12 minutes on pizza stone or in pizza pan.
Notes
What flour should I use for Pizza Crust?
Different flours can give you slightly different crust results. These are the various flour and flour combinations I've tried: (All three had an overnight rise/ferment in the refrigerator and were baked on a preheated pizza stone at 475 degrees F.)- All-Purpose Flour - You probably already have this flour in your pantry - handy! The dough was not hard to roll/stretch out. Results were a chewy, "bready" crust.
- Bread Flour - Bread flour is available at most grocery stores. This dough wants to spring back a bit when stretching out. (When this happens give it a rest for several minutes and come back to it.) When baked, this crust gets a nice crunch and char on the bottom (see pic below), chewy in the center, lots of bubbles in dough. Lighter in texture. This is my favorite.
- Italian 00 flour + All-Purpose Flour - 00 flour can be harder to source and more expensive. It's a very finely milled flour which is nice for pasta dough. For pizza crust, I mix it with half all-purpose flour as it doesn't brown very well in our home ovens - commercial pizza ovens are much hotter. To me, this crust seemed a little denser than the bread flour crust, but when taste testing side-by-side the other 3 members of my family liked the flavor of this crust the best.
When freezing the dough do you defrost in the fridge or on the counter? For how long?
I generally defrost in the refrigerator. I’ll put it in the refrigerator the night before. Then before cooking, bring it out and let it come to room temperature.
Hi Tina! I love watching you on QVC and I finally got the KitchenAid mixer. What rack do you place your pizza on when you bake it?
Hi Karen – I usually place my pizza stone or pizza pan on one of the lower racks – to get the crust to crisp up. For a pizza stone I preheat in the oven for 20-30 minutes to get it nice and hot to start.
When should we freeze it for future use for best results? Thanks for the recipe!
I like to freeze after the first rise, when the dough is deflated, shaped into balls. Freeze at that point. (see in the recipe for the 2nd rising directions, where it says you can freeze one at this point – you can just freeze them both.) Then when you want to use – an overnight thaw in the refrigerator and you’re good to go! (I like to rub a little oil on the balls before placing in freezer bags. Helps to keep them from sticking.
Using AP Flour and 00 Flour, would that be equal amounts of each flour or different ratio? I can’t wait to try this recipe.
Hi Jim – Yes, half and half. Enjoy!
Can you refrigerate this dough for more than 12 hours? I would like to refrigerate it for 20 to 24 hours.
Yes, I have refrigerated for up to 48 hours before. Tastes delicious that way!
Is this a recipe you could substitute gluten free flour for the regular flour?
Hi Kathy – That is something I would have to try – I don’t think gluten free flour subs out as easily with yeast/kneaded dough recipes. Sorry I didn’t have an easy answer.
I’ve had trouble finding a pizza dough that works for me. This was really pretty good. I added a splash of honey for sweetness and used 50% all purpose flour and 50% OO flour. Thanks!
Glad you enjoyed Suzanne!
Bless your heart for posting this! You made pizza dough so easy and delicious it is now a regular dinner for us! I’m trying every variation you’ve mentioned Today I’ll try making it in the morning and throwing it in the fridge till dinner time! Whole family LOVES IT! I especially love the mixer doing the majority of the kneading!
Love to hear it Brenda! Enjoy!
I made the dough in my stand mixer last night and it’s in the fridge now. I’m going to pull it out soon for tonight! I was planning on making one pizza and one calzone but was thinking, can half of this dough be used to make cinnamon rolls or dinner rolls? Would it be enough dough for either of those? If so about how many rolls would half this batch make? Thanks so much for this easy recipe!!
Hi Eileen!! I think theoretically that would work. Generally I use a much richer dough for cinnamon rolls and yeast rolls (eggs, milk, butter, sugar) but I know some folks use frozen bread dough which I would think is similar to pizza dough?? I linked the cinnamon rolls and the yeast rolls so you can check out those recipes if you like. You can compare flour amounts for approximated recipe yields.