Plus My Top 10 Cookie Baking Tips!
I pretty much love any chocolate chip cookie… But for a while now, I have been wanting to create my version of the perfect soft and chewy chocolate chip cookie! I put this off for a bit as I knew it would be trickier than I thought. Why so tricky? Well, everyone has their own very specific view of what constitutes the perfect chocolate chip cookie and chocolate chip cookies can be surprisingly tricky to make homemade – sometimes they come out too flat or too dry or too cakey.
I spent well over a week researching and testing different variations of this recipe. I ended up with using a pretty high proportion of dark brown sugar (dark adds great color/flavor), I added some corn starch and an extra egg yolk – all of which contribute to cookie chewiness. …Oh and some extra butter too! ( :
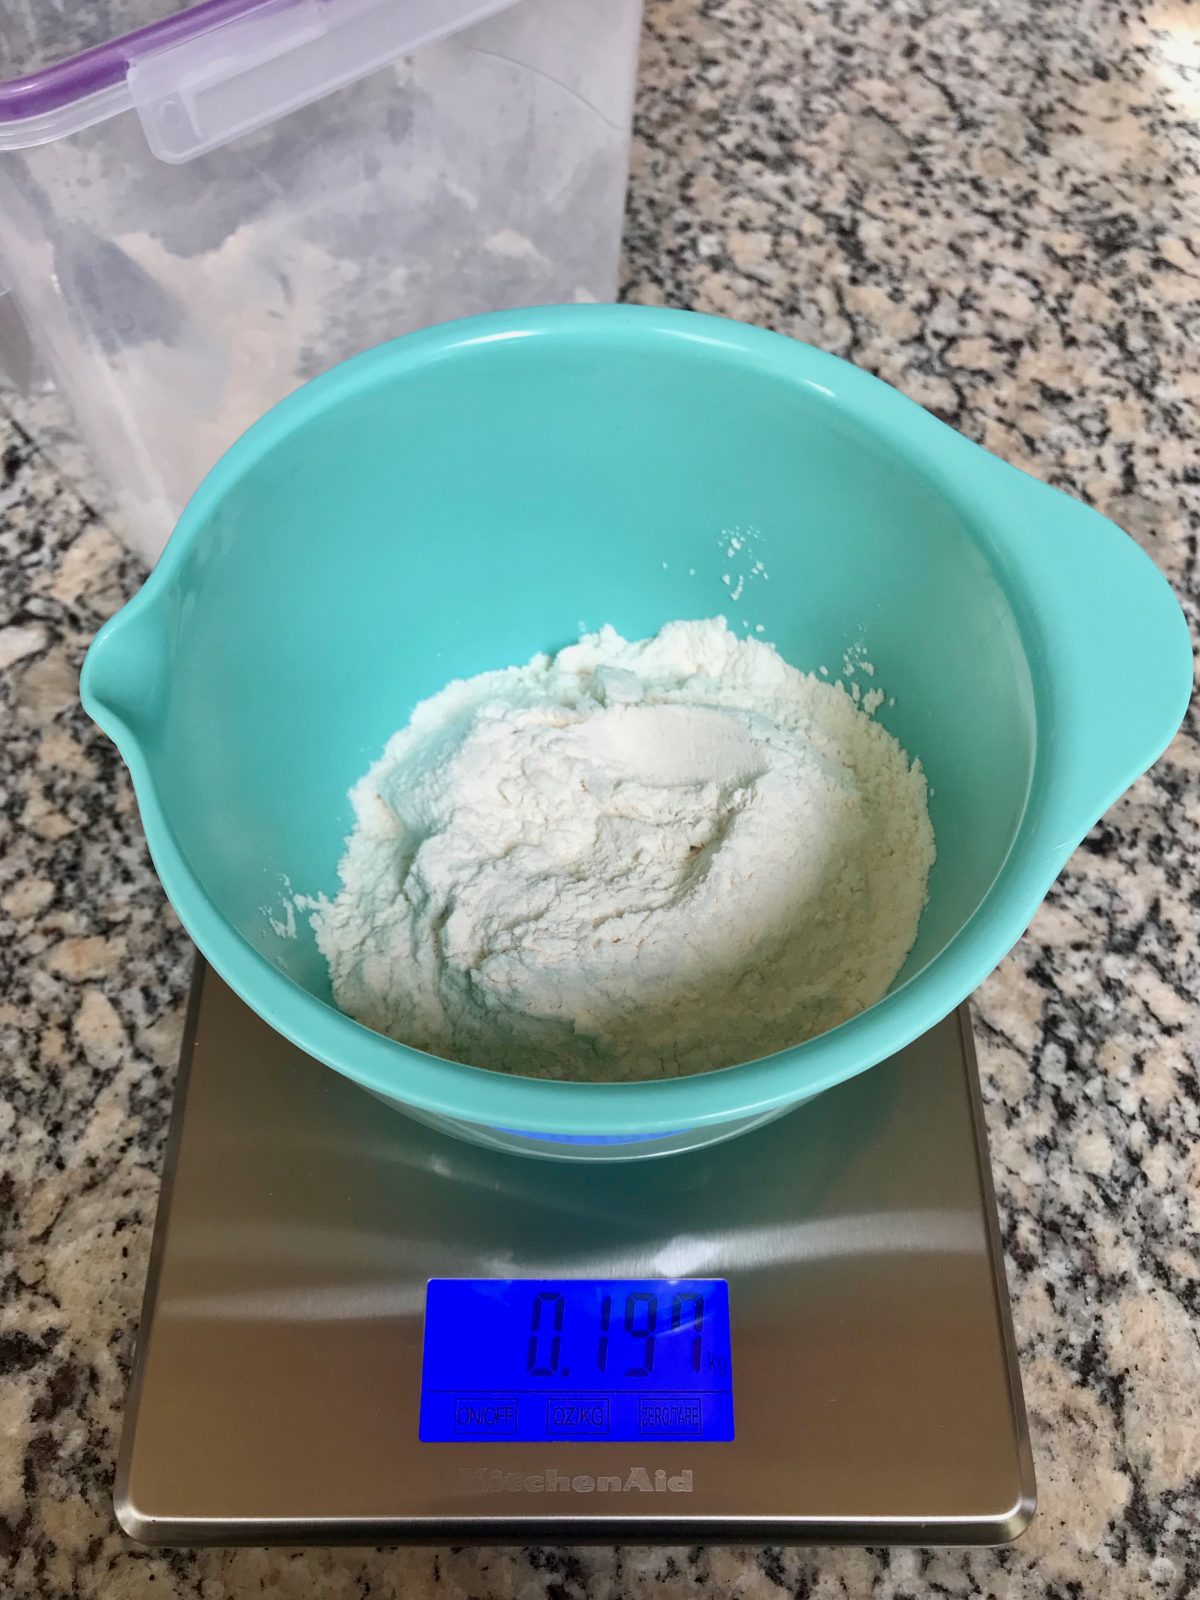
But, the element that surprised me the most was just how precise the amount of flour needed to be to keep the cookie from being way too flat on one end to being way to dry and cakey on the other end. Discernible differences are made by mere teaspoons of flour. Which makes the flour measurements ultra-important. If you have a kitchen scale, I highly recommend weighing your flour… I’ll share with you all the tips I learned to get consistently soft and chewy chocolate chip cookie results below.
How Do They Taste?
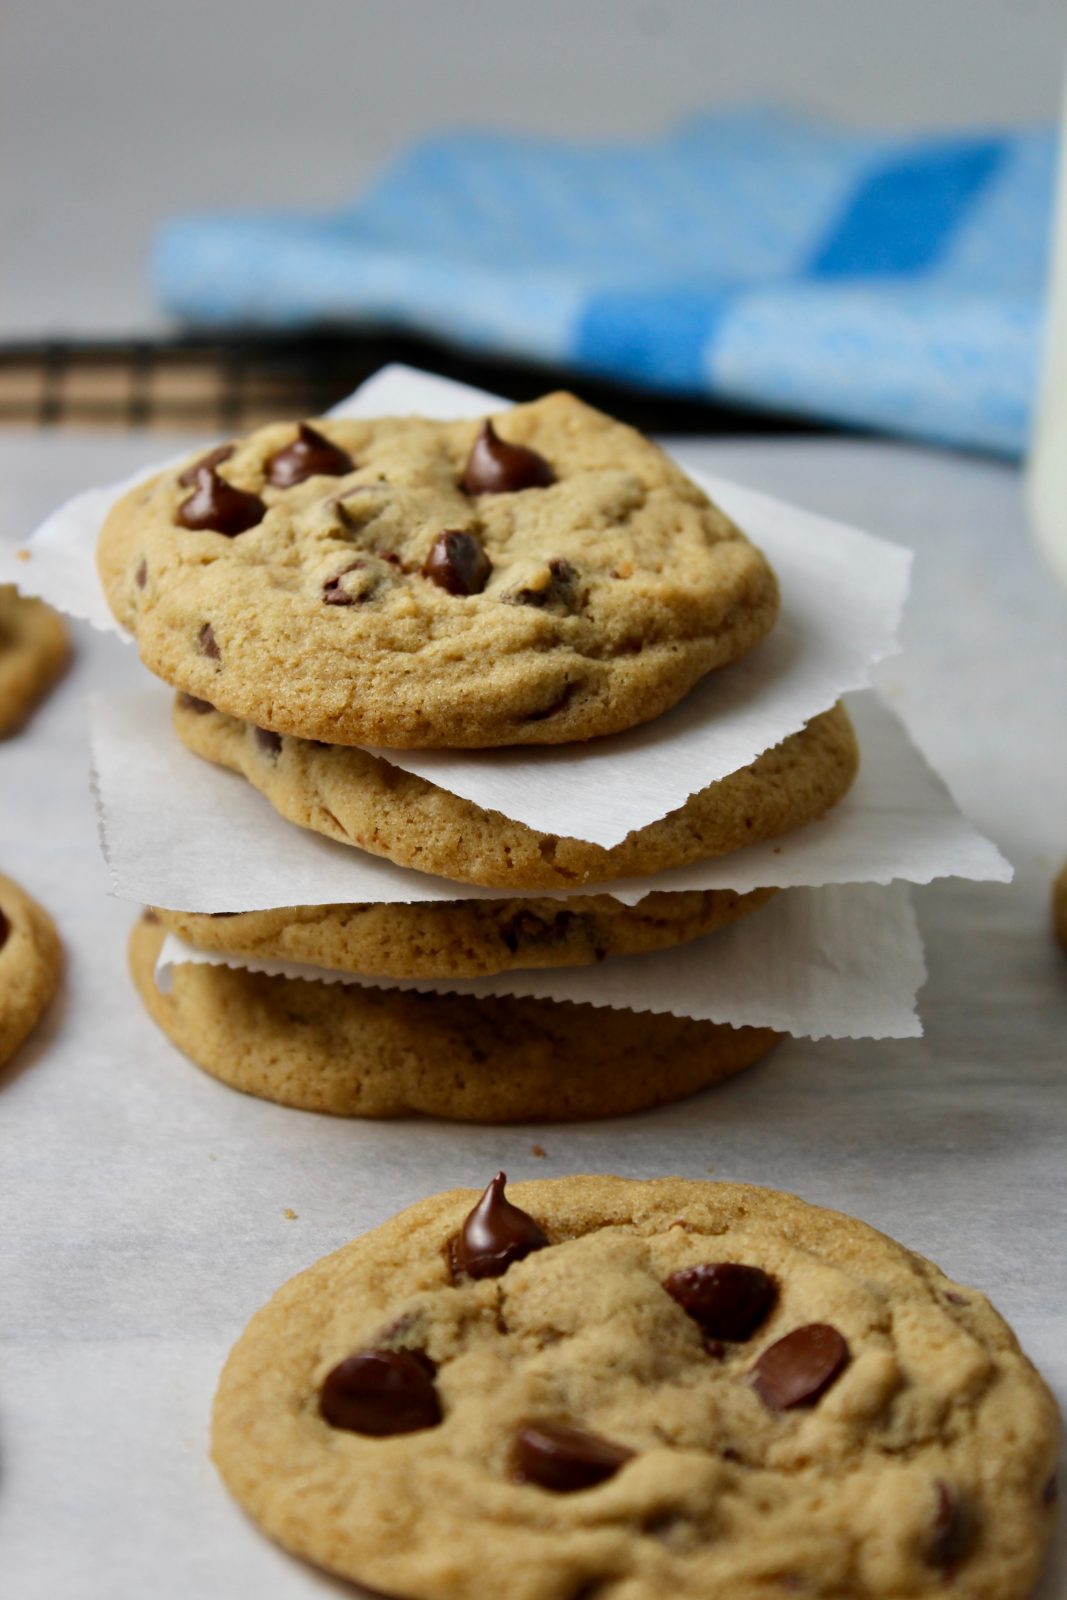
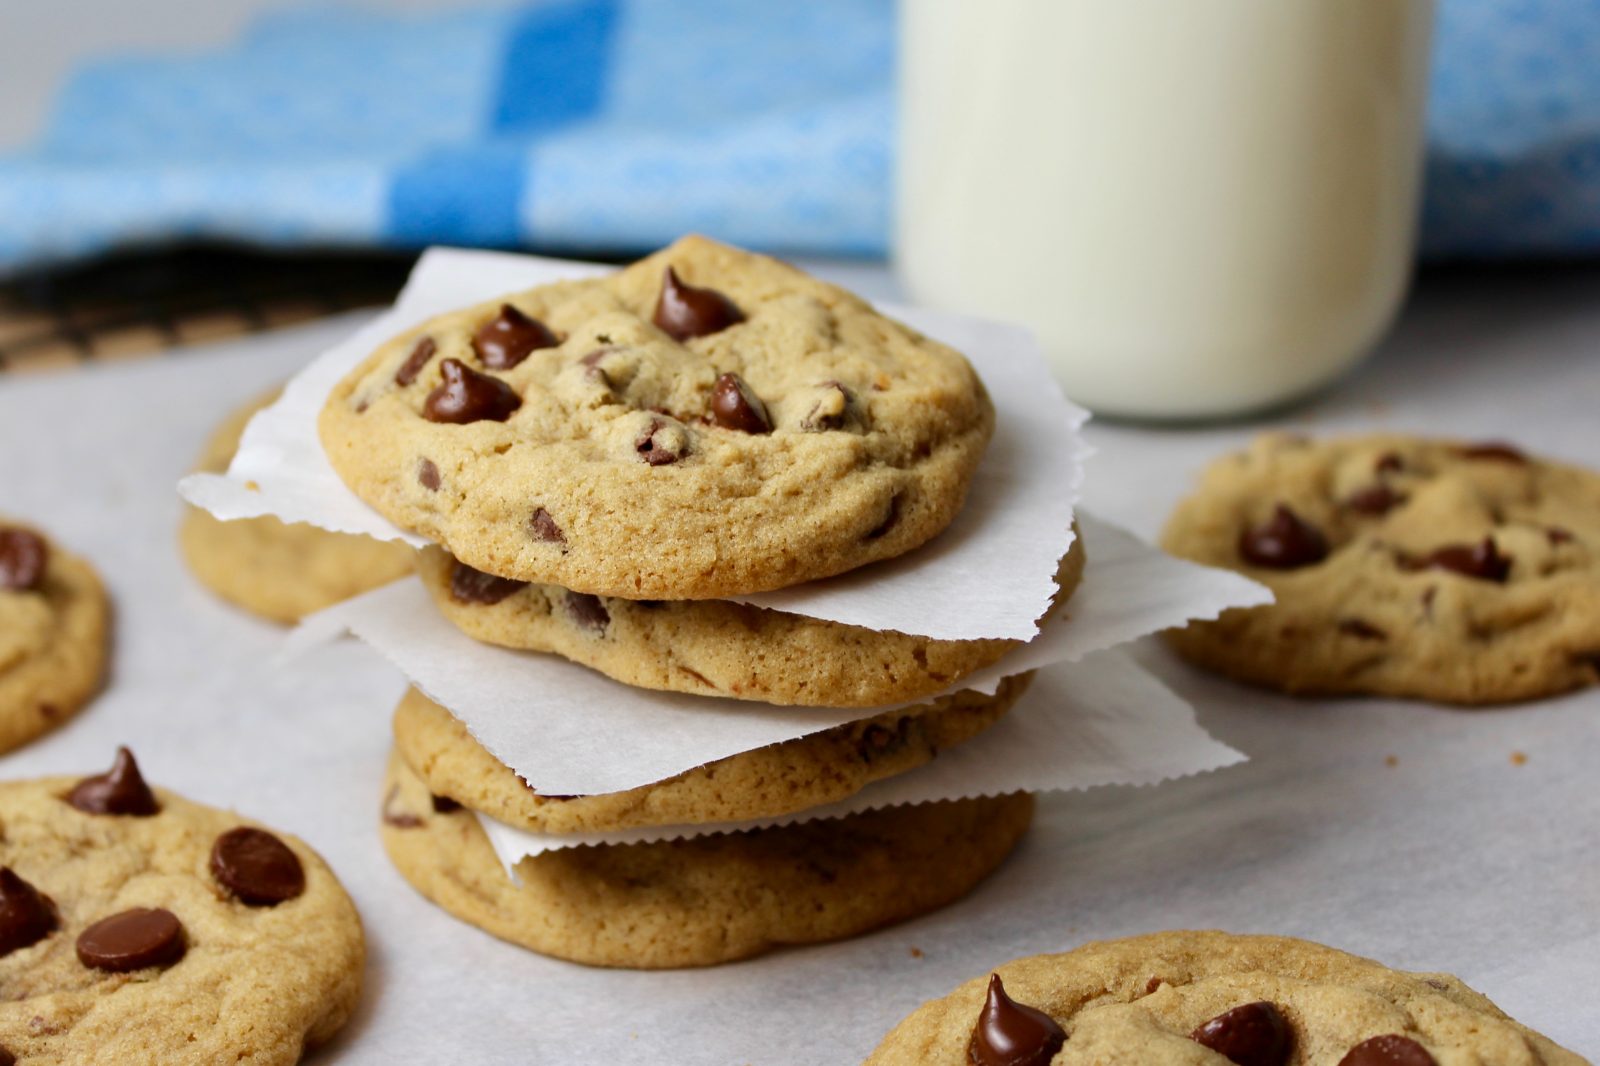
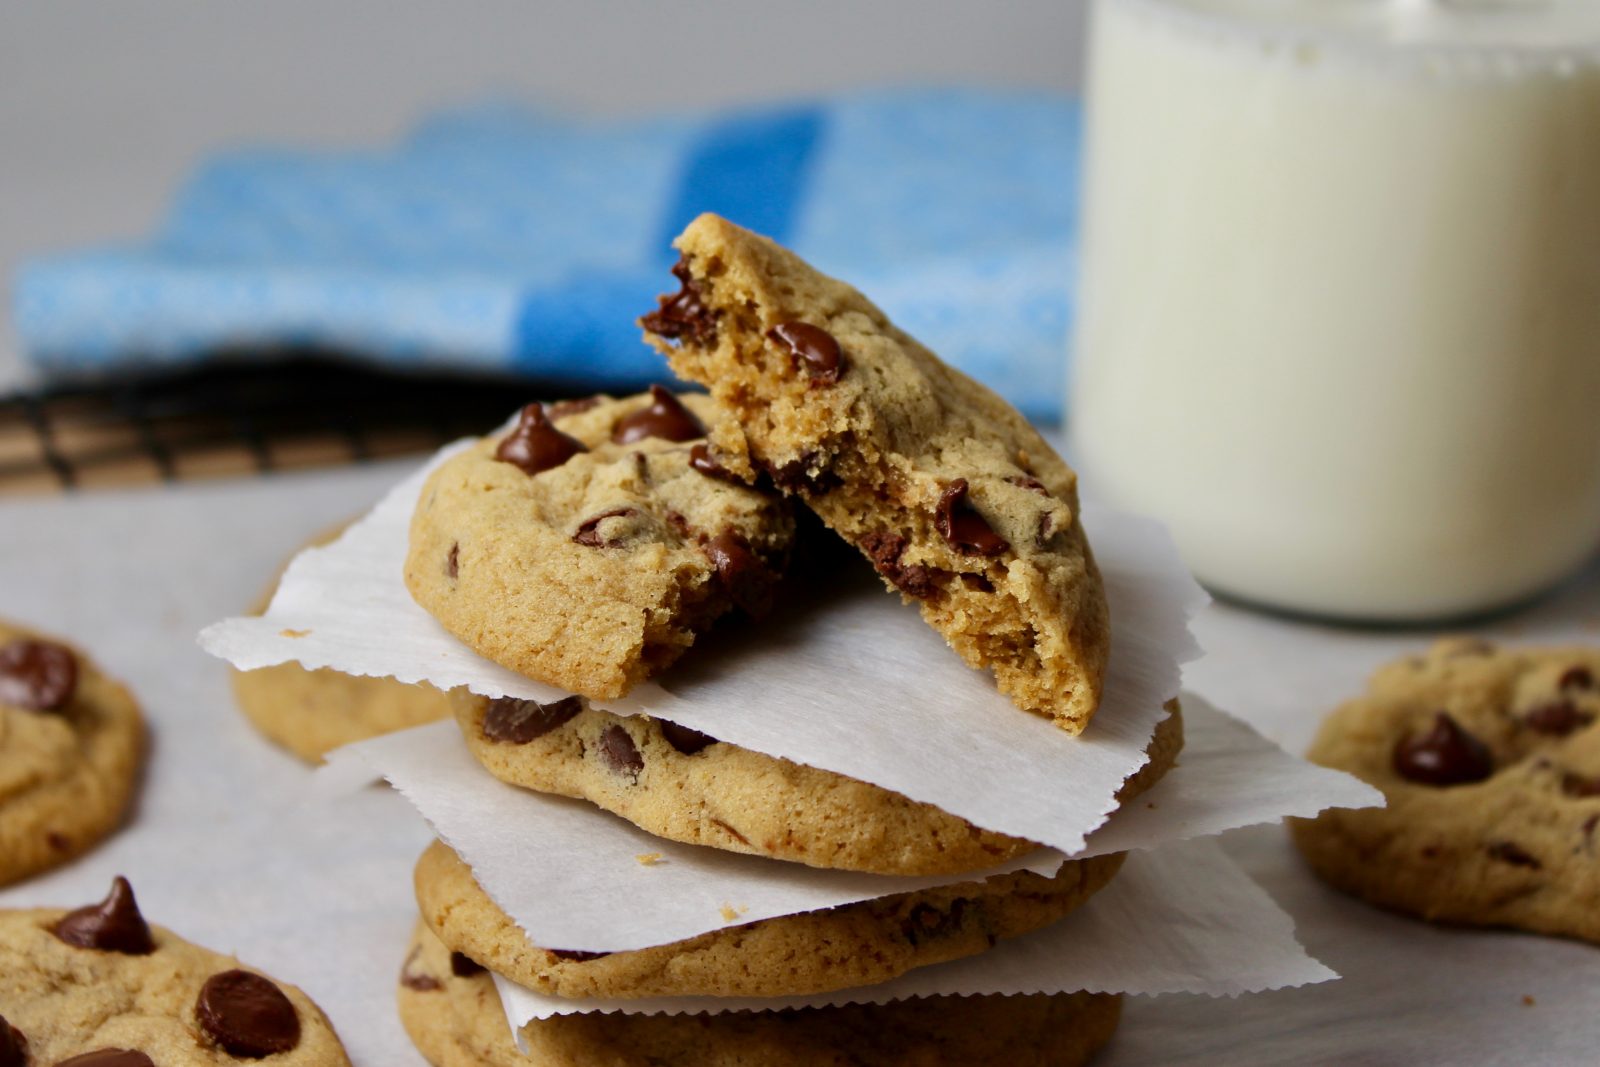
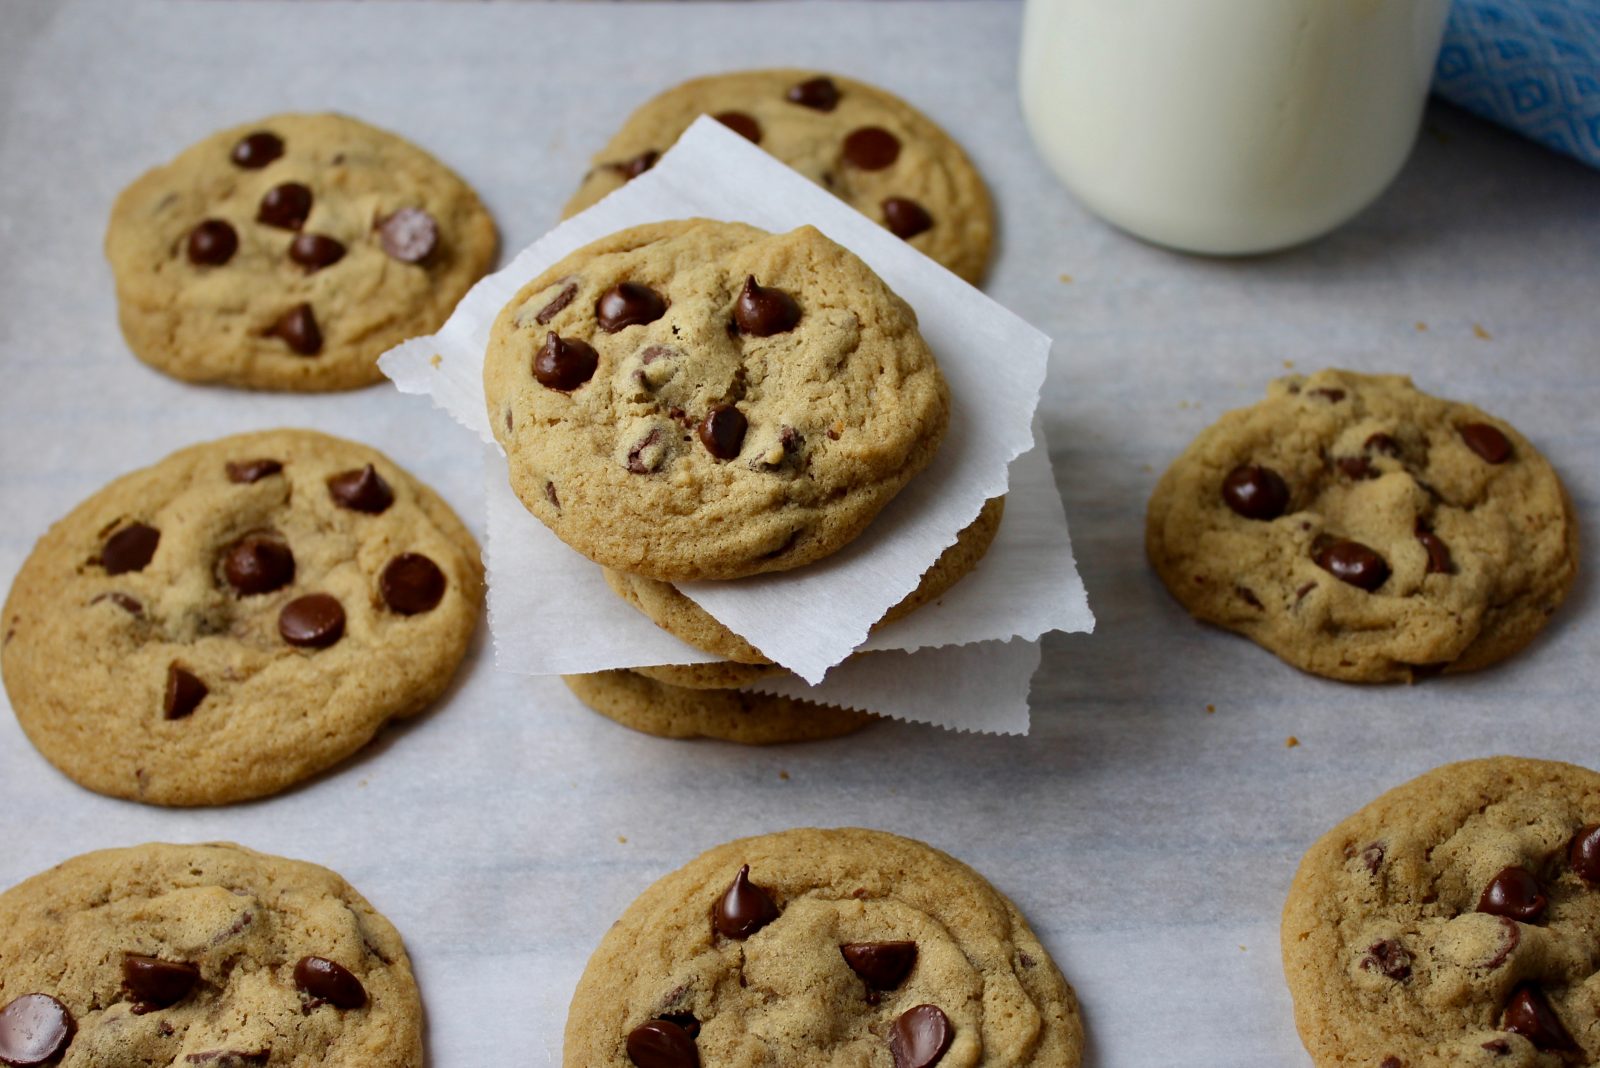
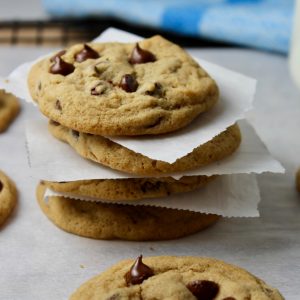
These Chocolate Chip Cookies are buttery and soft with a nice chew when you bite into them! They’re not too thick and not too thin. They come out of the oven puffed in the center, but while cooling, that center nestles down into pure chewy delicious-ness! YUM! This recipe make 2-dozen cookies, a perfectly manageable batch! They stay soft when stored in an air-tight container and they freeze perfectly either before or after baking.
(The texture of these reminds me of those soft little Entenmann’s Chocolate Chip Cookies, only larger and so much tastier because they’re homemade!)
What about Toll House Cookies?
I do love the flavor of the traditional Toll House Cookie recipe, that high butter content makes them so tasty! But, they can be tricky to get a consistent texture. So many times they’ve ended up completely flat, even with chilling the dough. I still do use the Toll House Recipe for my Chocolate Chip Bar Cookies as the dough is contained in a rimmed baking sheet. Here’s my adjusted recipe that fits perfectly in a half-sheet tray. Bar Cookies For a Crowd – RECIPE.
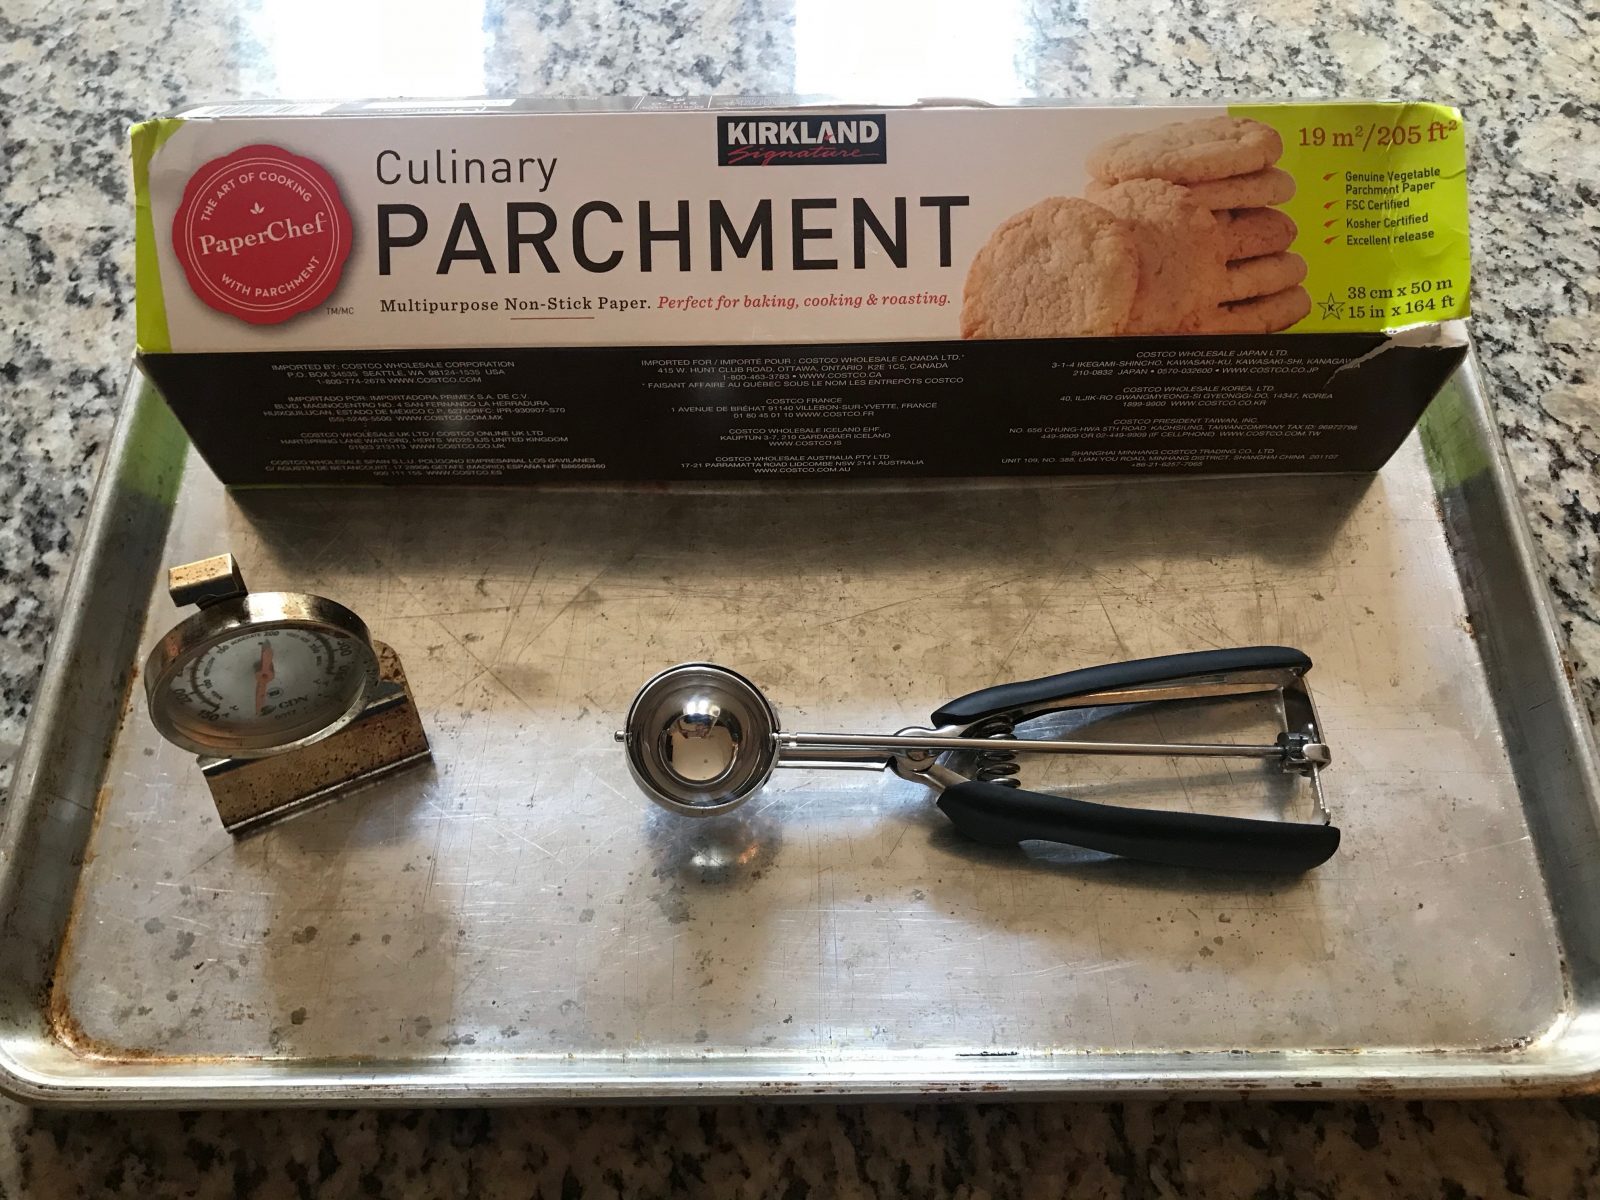
My Cooking Baking Essentials:
Top 10 Cookie Baking Tips:
- Baking Sheets: I like to use nice heavy baking sheets, I prefer no coatings like non-stick. Non-stick coatings can sometimes be dark in color which (attracts heat, and) can cause your cookies to brown too quickly. If you have dark pans, I would try dropping the oven temperature by 25 degrees. Having 2 baking sheets is helpful. Don’t bake the second batch on a still hot baking sheet from the first batch.
- Oven Thermometer: My oven takes much longer to preheat than indicated by the oven signal and the temperature is usually not 100% accurate. I always use an inexpensive oven thermometer to check the temperature and then I can adjust the oven accordingly.
- Parchment Paper: It’s one of my favorite kitchen “tools.” A sheet of parchment paper on your baking sheet and you don’t need to grease the baking sheet, which makes clean up a breeze. You can also transfer a whole tray of cookies from the baking sheet to the cooling rack in one motion.
- Cookie Scoop: Cookie scoops help you get uniform cookies, and same-size cookies will bake more evenly. I use a 2-tablespoon/1-ounce scoop (leveled off) for my cookies.
- Softened Butter: I like to let my butter (and eggs) sit out for about 30 minutes at room temperature. The butter still needs to feel cool to the touch. If the butter is too warm, it won’t “cream” properly with the sugar and your cookies will be more flat. Do not microwave your butter to soften. It’s better to have too cool butter, than too warm butter.
- Measuring Flour: I know, I know…weighing flour is a pain in the you-know-what. But… for cookies, especially a recipe that makes only 2-dozen there is not much room for error. And believe it or not every teaspoon counts and makes a difference. I measured and weighed just to test my measuring skills and I was off every single time. If you have a digital kitchen scale, I highly recommend weighing the flour for this recipe. If not, I recommend “fluffing” the flour in your canister. Then spooning (not pressing) into your measuring cup and leveling off. Usually we measure too heavy.
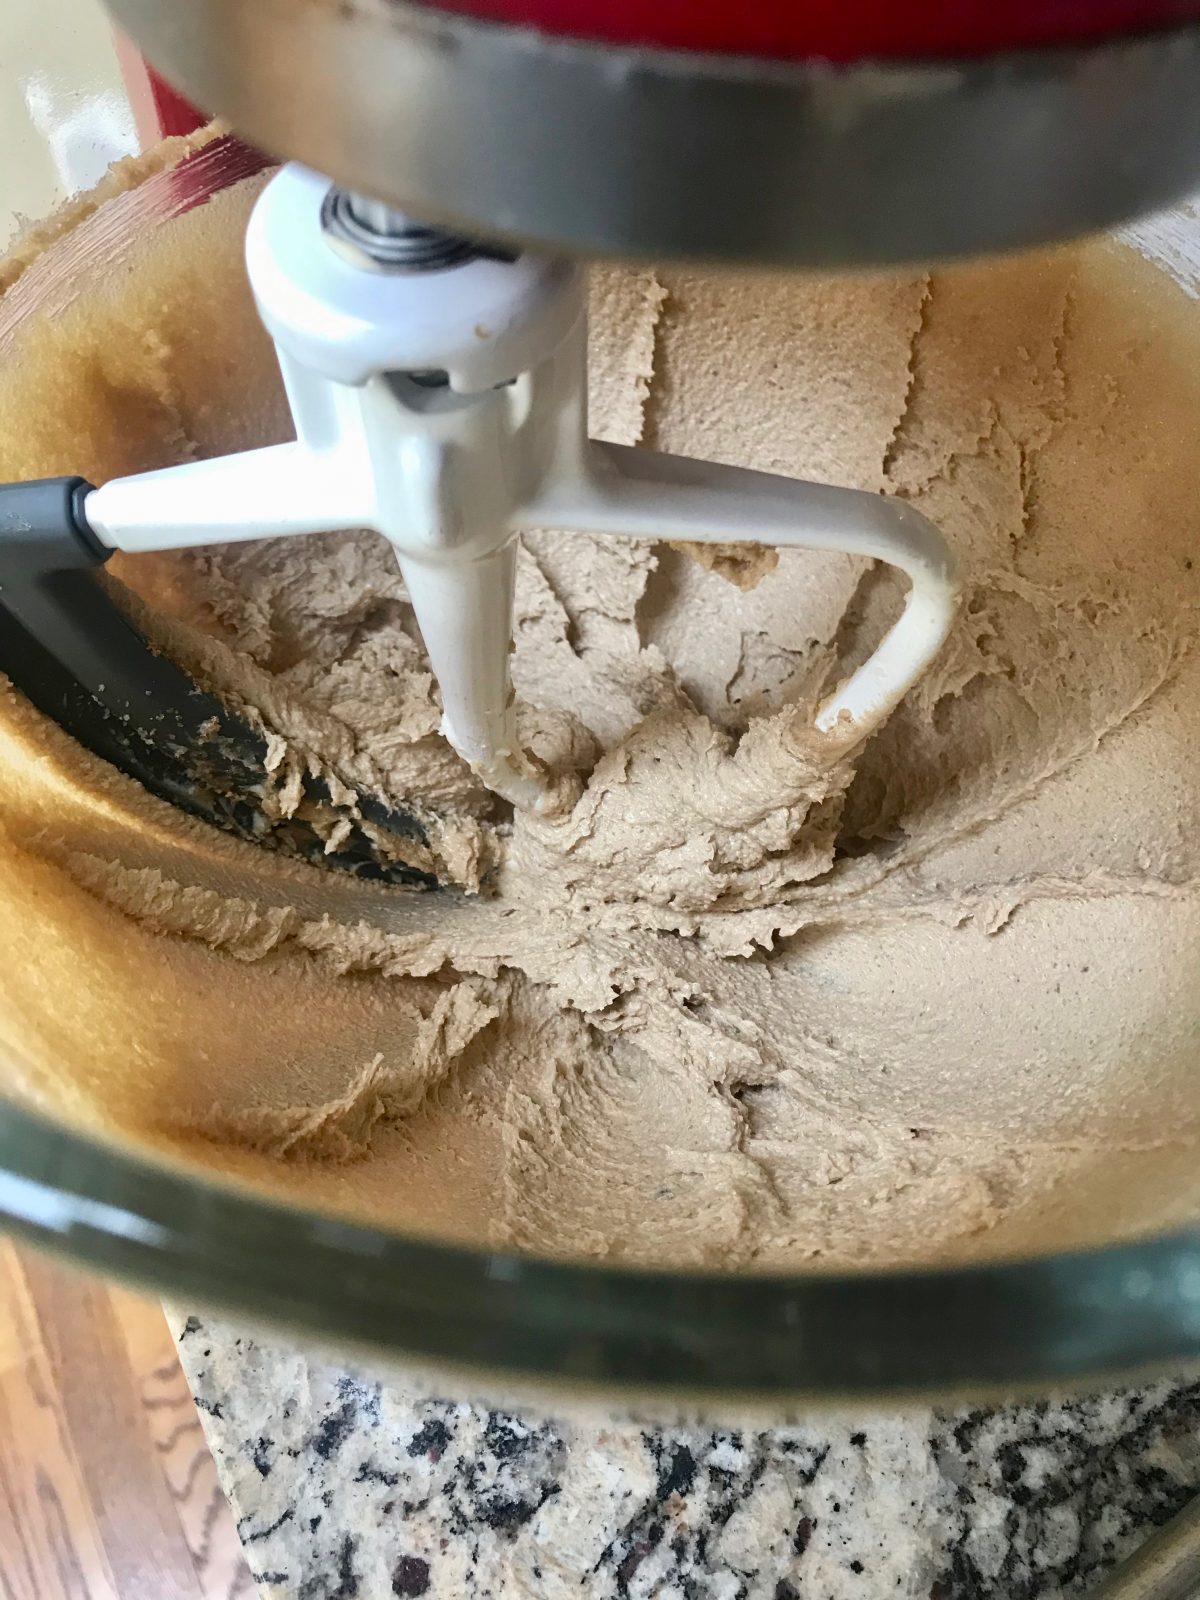
- “Creaming”: it’s the process of adding air to the butter/sugar mixture in a recipe. When the beater swipes across the mixture, the sugar will cut little air-pockets into the butter. If the butter is too soft, it can’t hold the little air pockets. It takes several minutes of beating/mixing for this to happen, most people don’t cream long enough. You’ll know the mixture is creamed when the color lightens and the mixture is fluffy.
- Chill The Dough: You need to chill your cookie dough before baking. The butter re-firms, the flavors meld and you’ll end up with tastier cookies that are not too flat. To me it makes more sense to mix the dough, scoop the dough balls, then chill them. The dough is easier to scoop when soft and the dough balls don’t take as long to chill as a whole bowl of cookie dough.
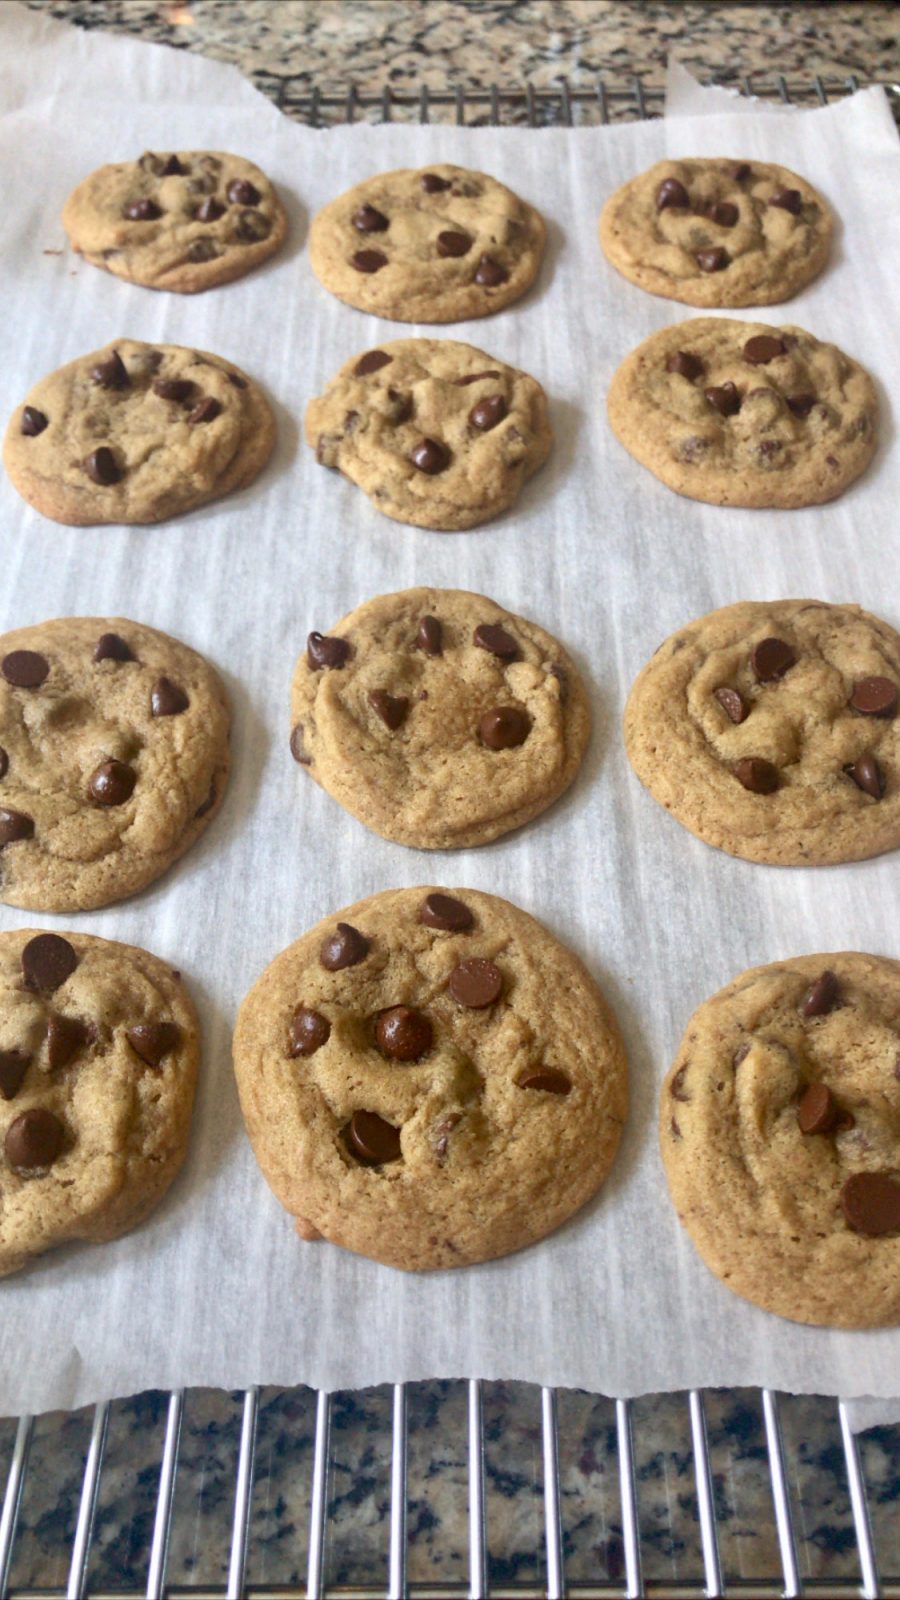
- Baking: Make sure your oven is the correct temperature (see tip #2 above) I only bake 1 tray of cookies at a time for the most even results. When done, the cookies will be puffed and starting to get golden brown around the edges, but still look pale in the center. While cooling, that center will nestle down into pure chewy delicious-ness.
- Make Ahead: You can make the dough and form the dough balls a couple days in advance and keep in the refrigerator. The flavor will deepen with time. You can also freeze the dough balls and bake just a few at a time – when you want fresh warm cookies!
Weigh The Flour – It Makes a Difference
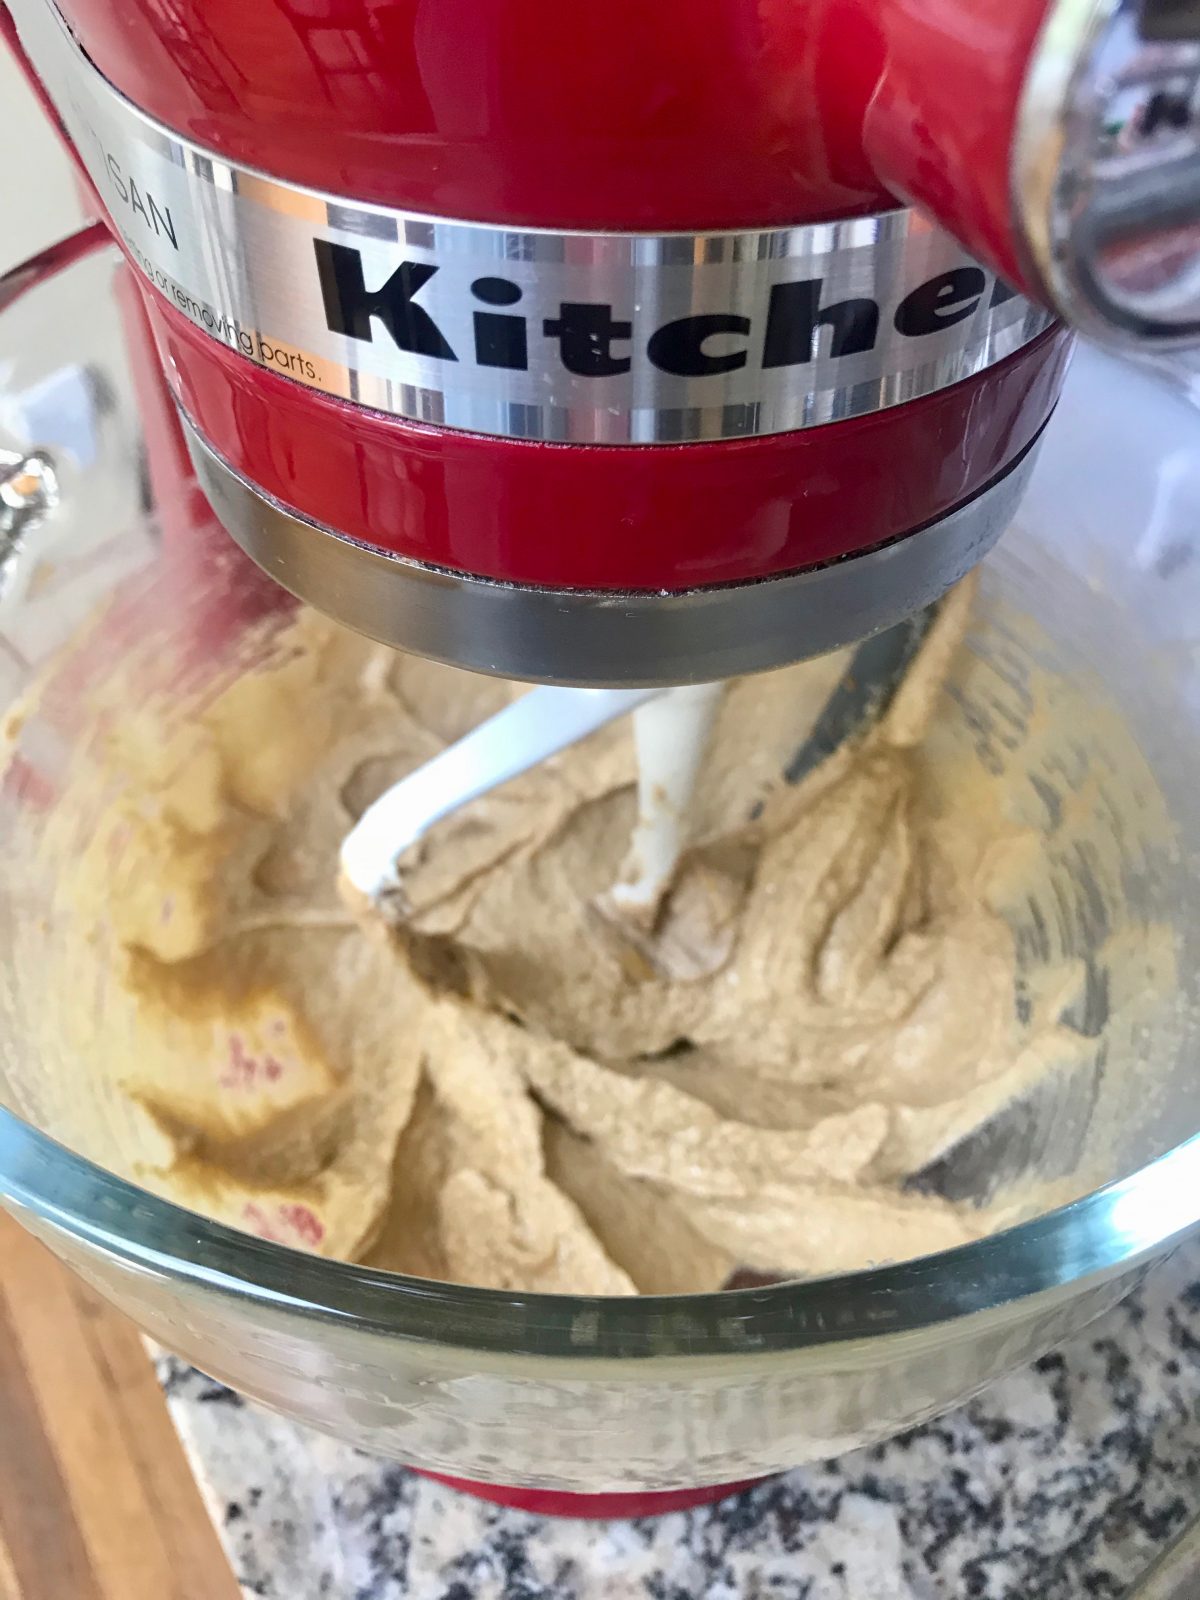
Mix-up Your Cookie Dough!

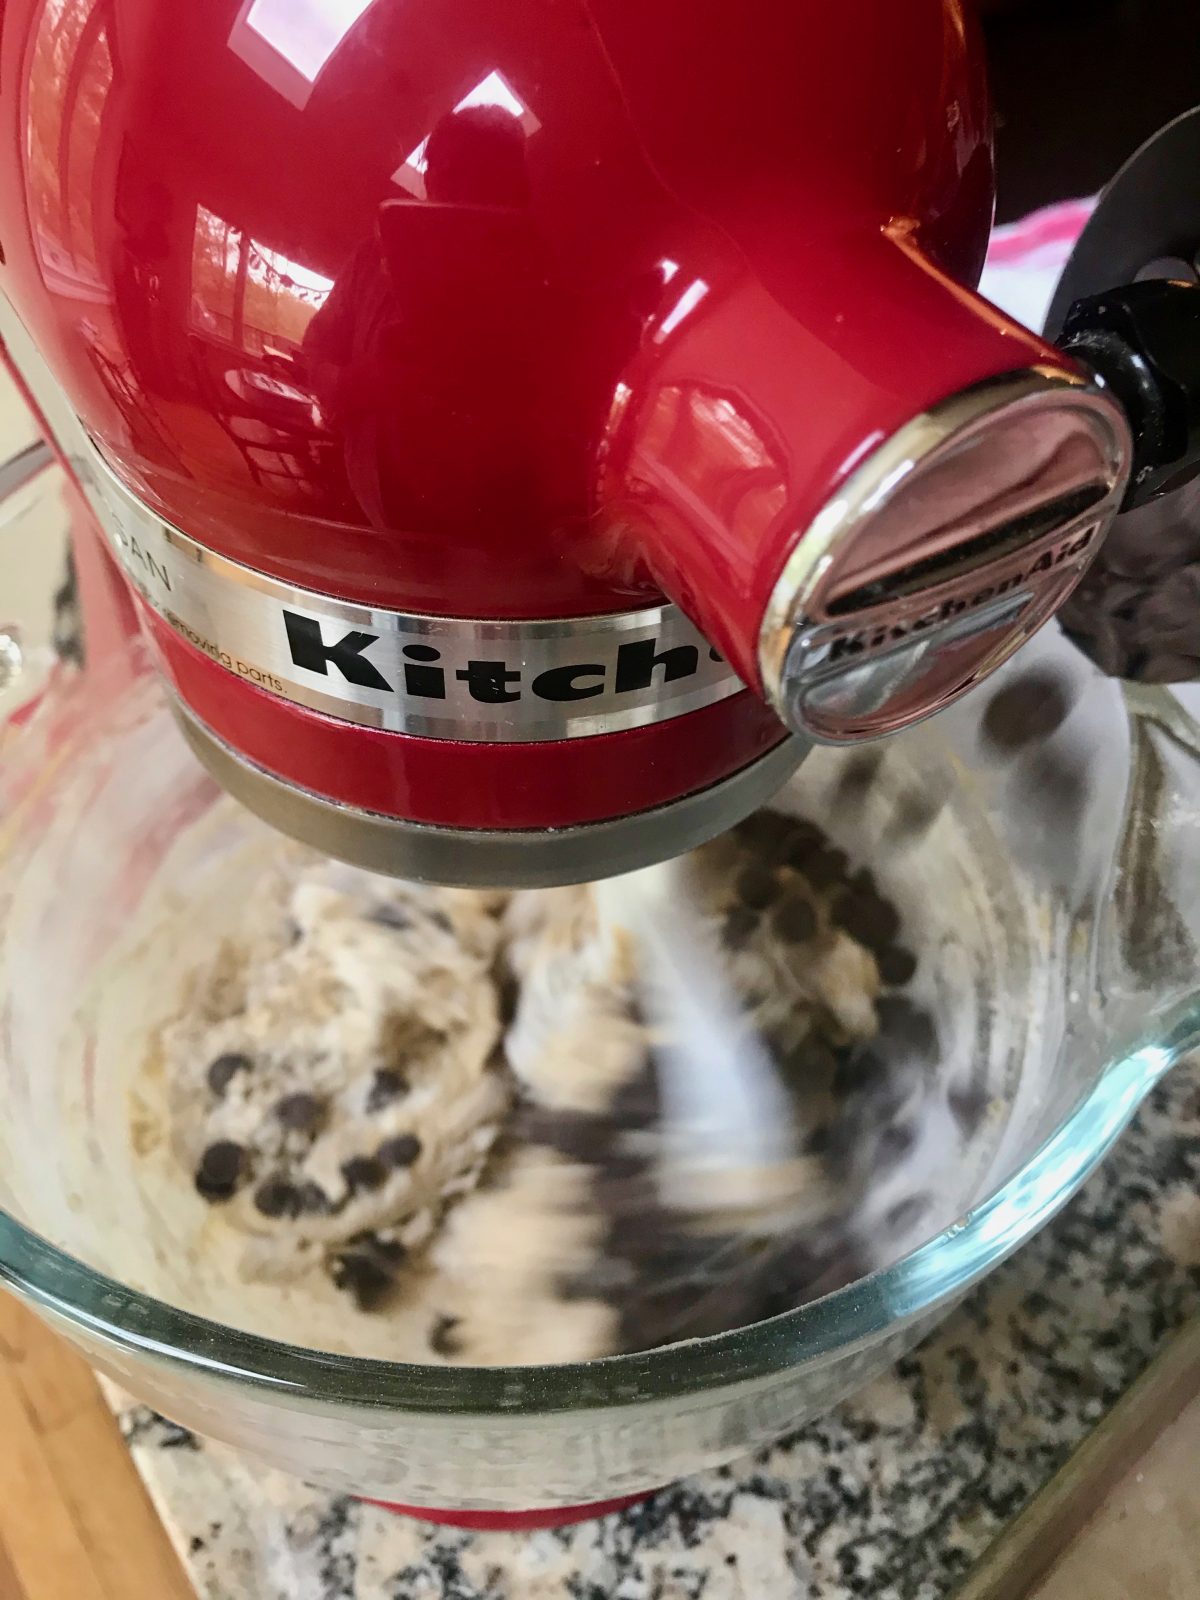
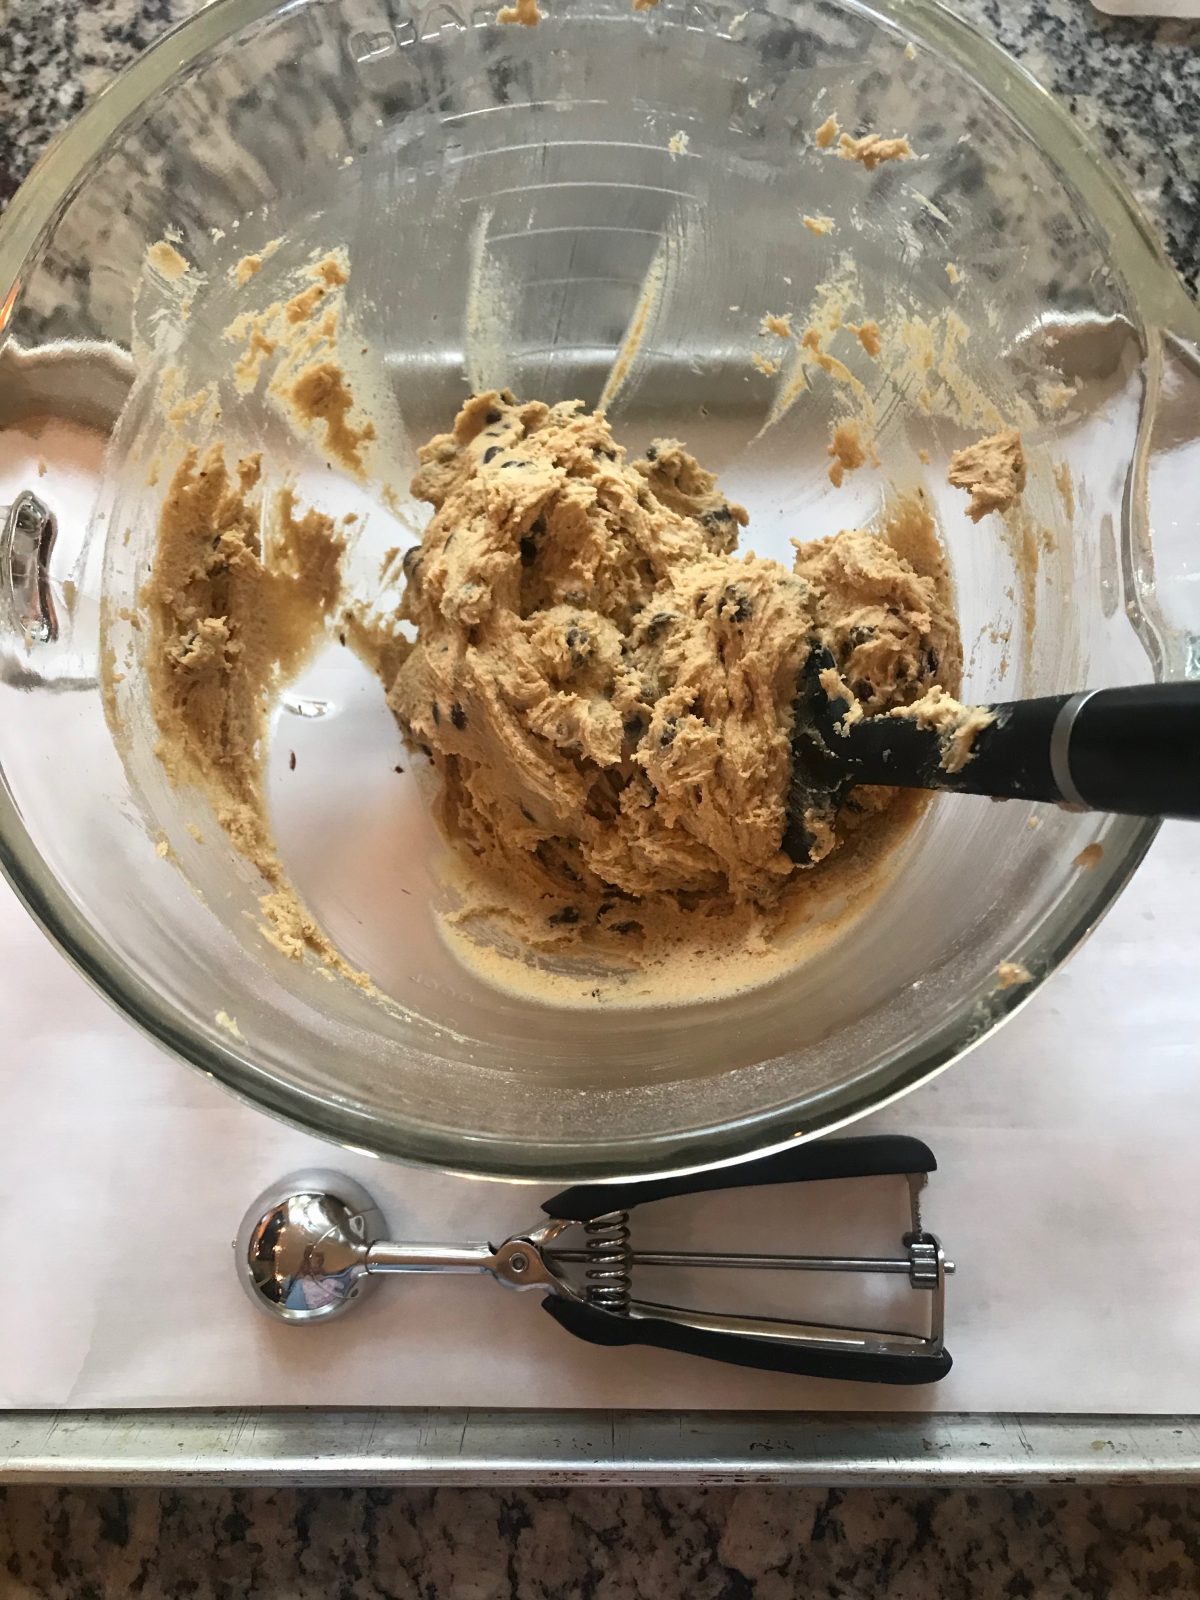
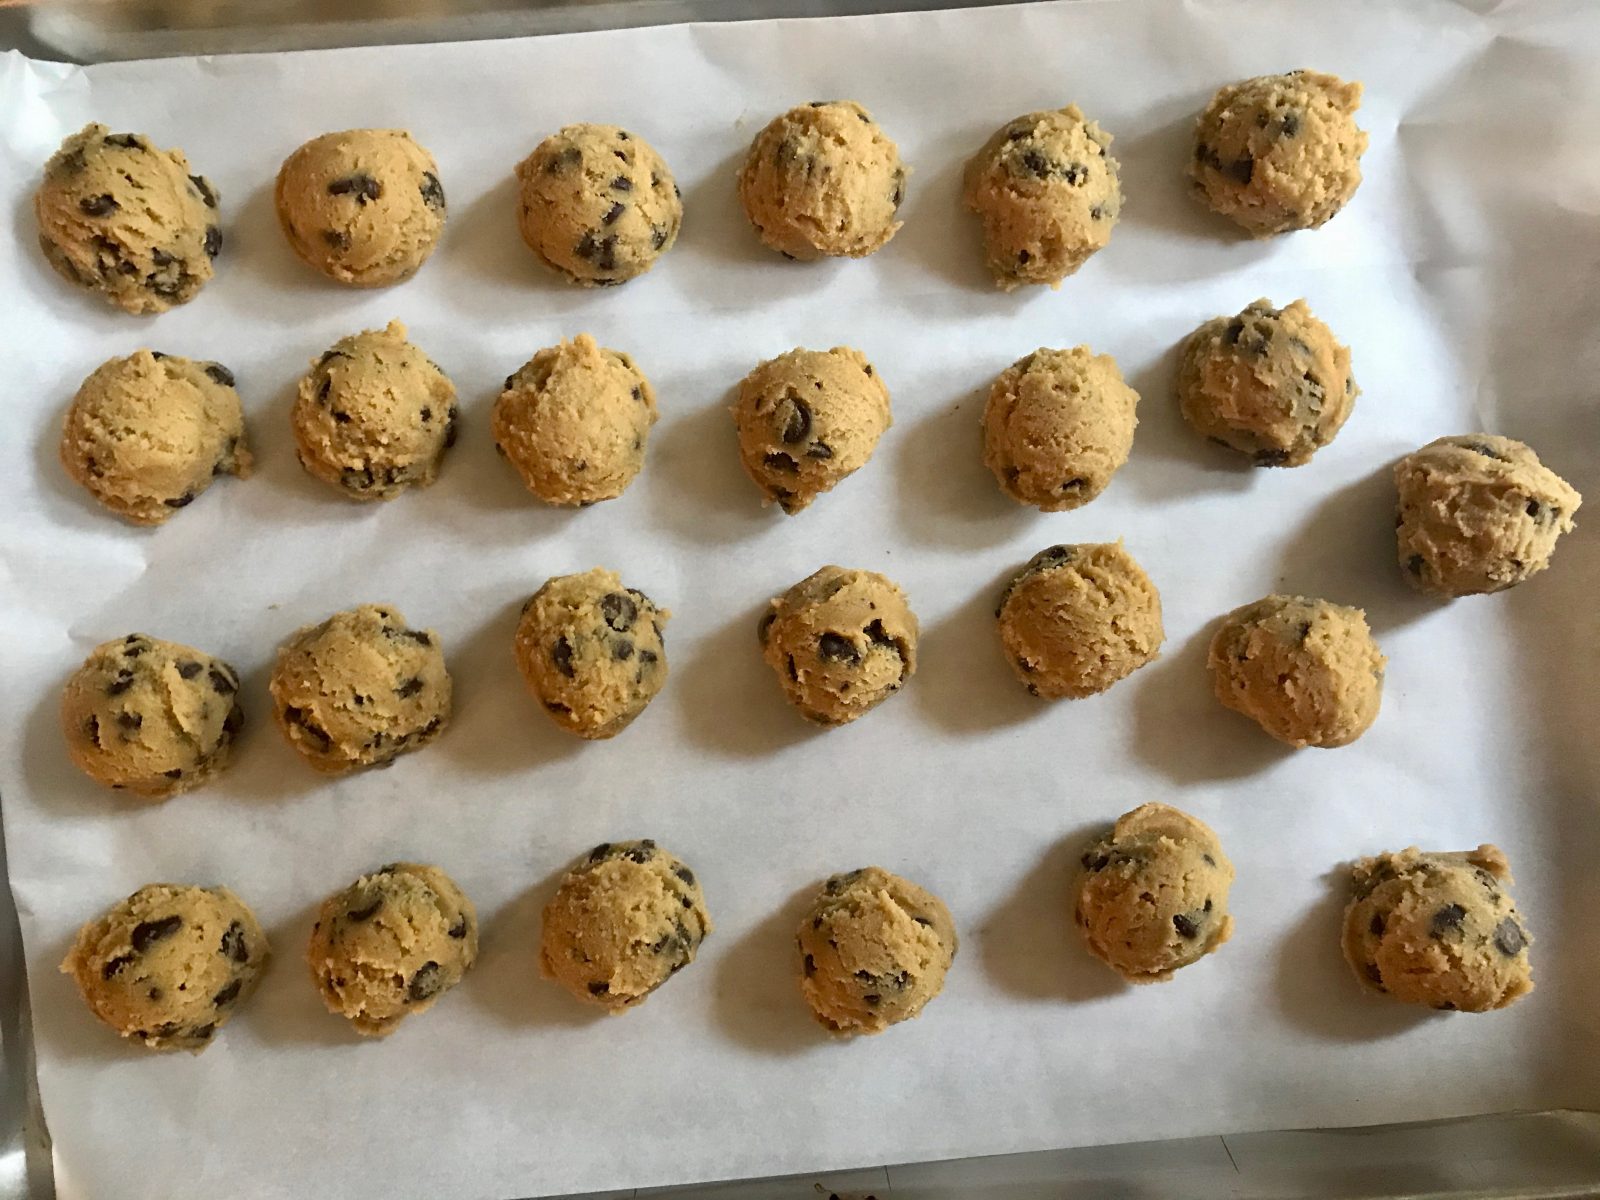
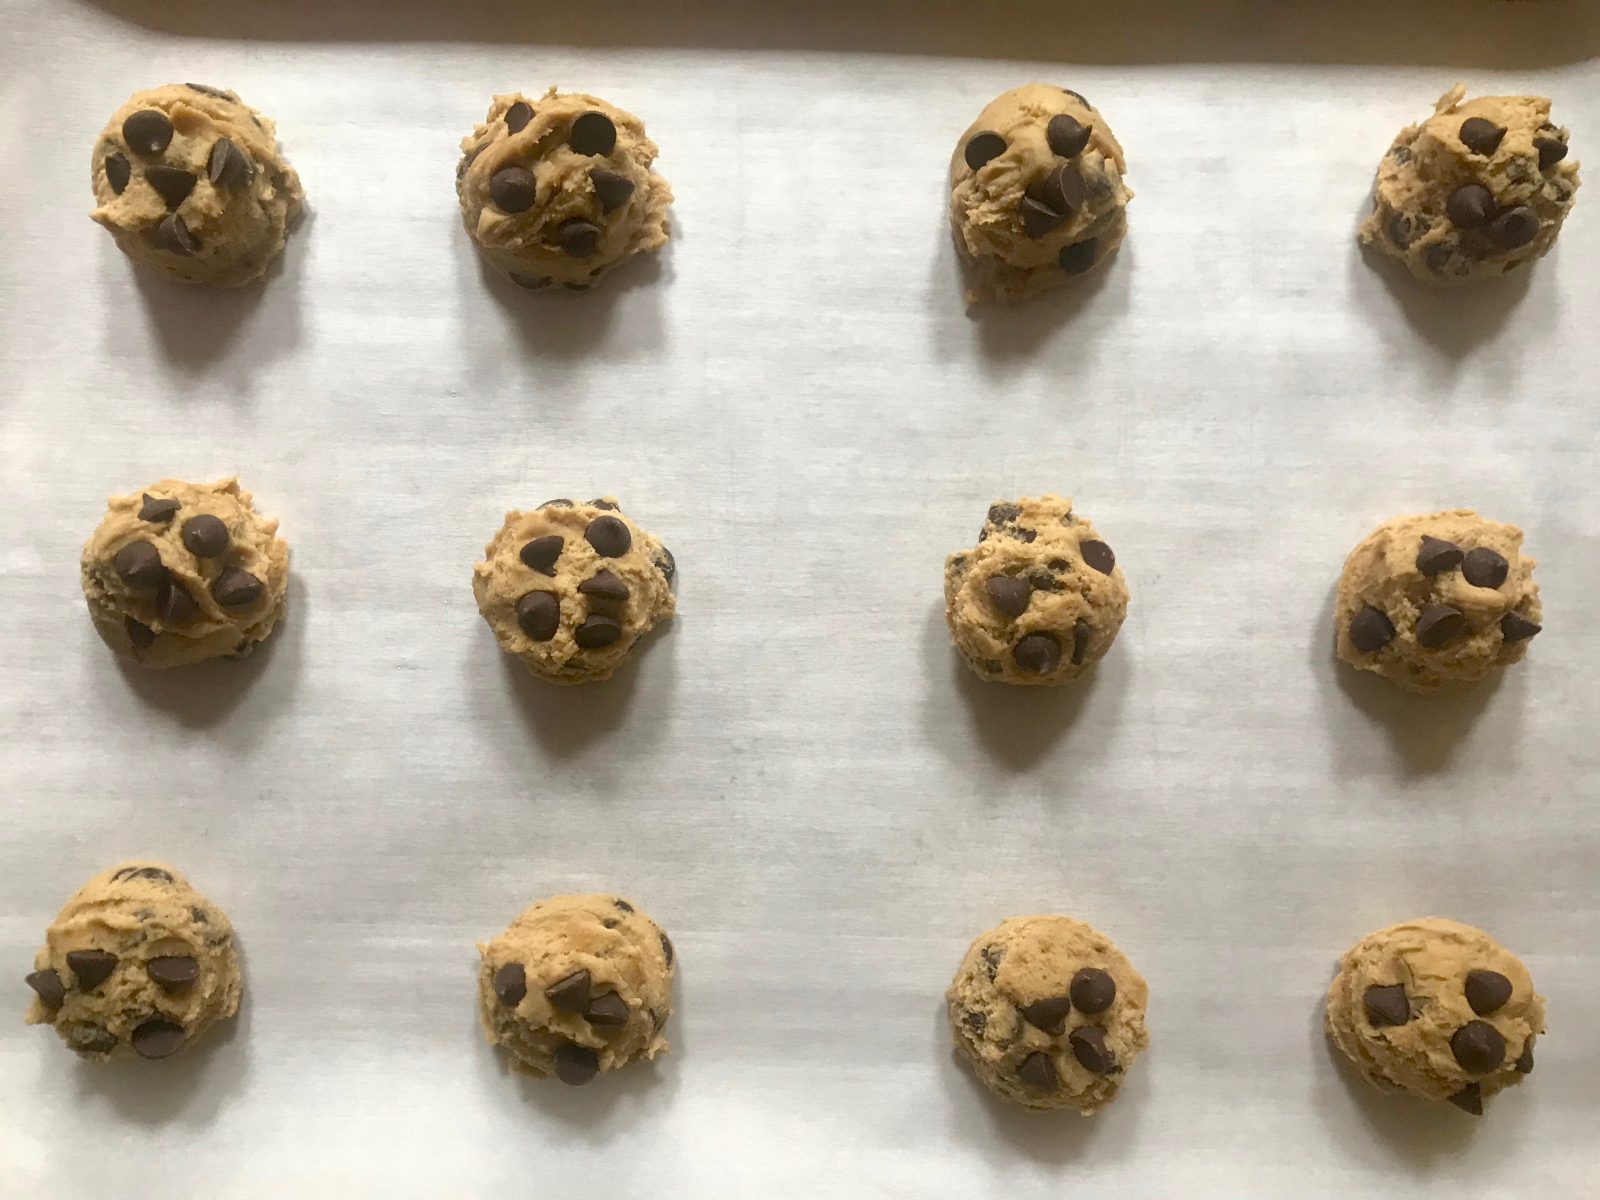
Scoop Dough Balls, Top with More Chocolate Chips & Chill!
mmm…Soft and Chewy Perfection!
Soft & Chewy Chocolate Chip Cookies
Ingredients
- 197 grams (1 1/3 cup + 2 teaspoons) all-purpose flour, spooned + leveled
- 1 teaspoon baking soda
- 1 1/2 teaspoons corn starch
- 1/4 teaspoon salt
- 10 tablespoons butter room temperature 1-stick + 2 tablespoons
- 1/4 cup granulated sugar
- 1/2 cup dark brown sugar*, packed
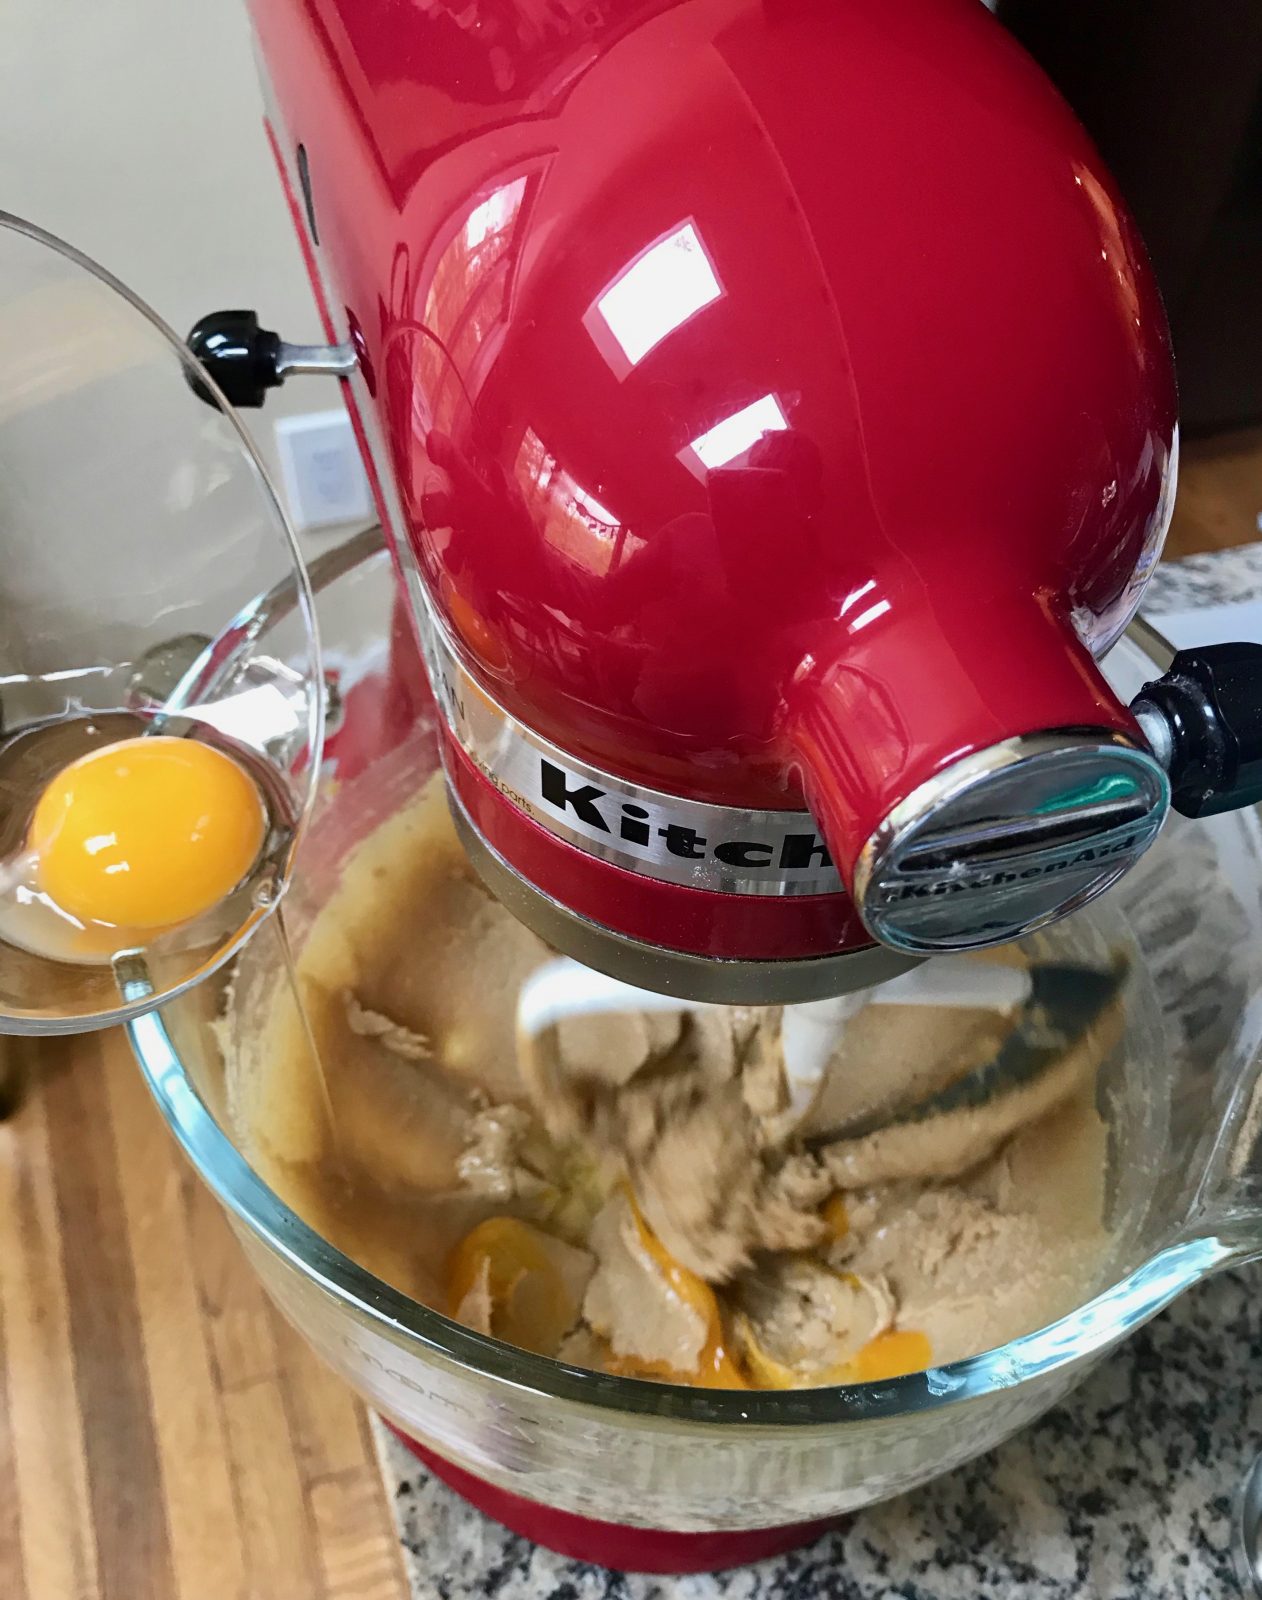
- 1 large egg + 1 egg yolk, room temperature
- 1 1/2 teaspoons vanilla extract
- 1 1/4 cups chocolate chips divided
Instructions
A Few Notes:
- I highly recommend weighing the flour to get the most consistent results. I mixed my cookies in my KitchenAid 5-quart Artisan Stand Mixer using the Flex Edge Beater. I like to top the cookie dough balls with some chocolate chips before baking - I reserve 1/4 cup chocolate chips to do so. If you don't want to top them, you can mix in all the 1 1/4 cups chocolate chips.
Cookie Directions:
- Whisk together the flour, baking soda, corn starch and salt in a small bowl.
- Using an electric mixer, cream the butter, granulated sugar and brown sugar - beat for several minutes or until the mixture lightens in color and is nice and fluffy. Scrape the bowl to make sure all is combined.
- Mix in the egg + yolk and the vanilla. Scrape the bowl to make sure all is combined.
- Add the flour mixture and mix on low speed. Add the chocolate chips (1 cup if you want to reserve 1/4 for topping later.) Mix on medium speed for about 30 seconds or until all is combined.
- Line baking sheet or container (whatever will fit in your refrigerator for chilling) with parchment paper. Scoop 2-tablespoon cookie dough balls. Place on baking sheet or in container and top with additional chocolate chips, if desired. Chill covered for 3-24 hours.
- Before baking, arrange oven rack to center position and preheat oven to 350 degrees. (Double check oven temperature with an oven thermometer.)
- Place 12 of the chilled dough balls, evenly separated on a parchment lined or greased baking sheet (see note). Bake for 11-12 minutes (for 2-tablespoon portions) or until just starting to get golden brown on the edges and puffy - pale in the center. (When in doubt, bake less than you think.)
- Let cool on baking sheet for 1-minute, then remove to cooling rack. Bake the other cookies (on a cool baking sheet.)
Notes
Nutrition (approx. data estimated via online nutritional calculator.)
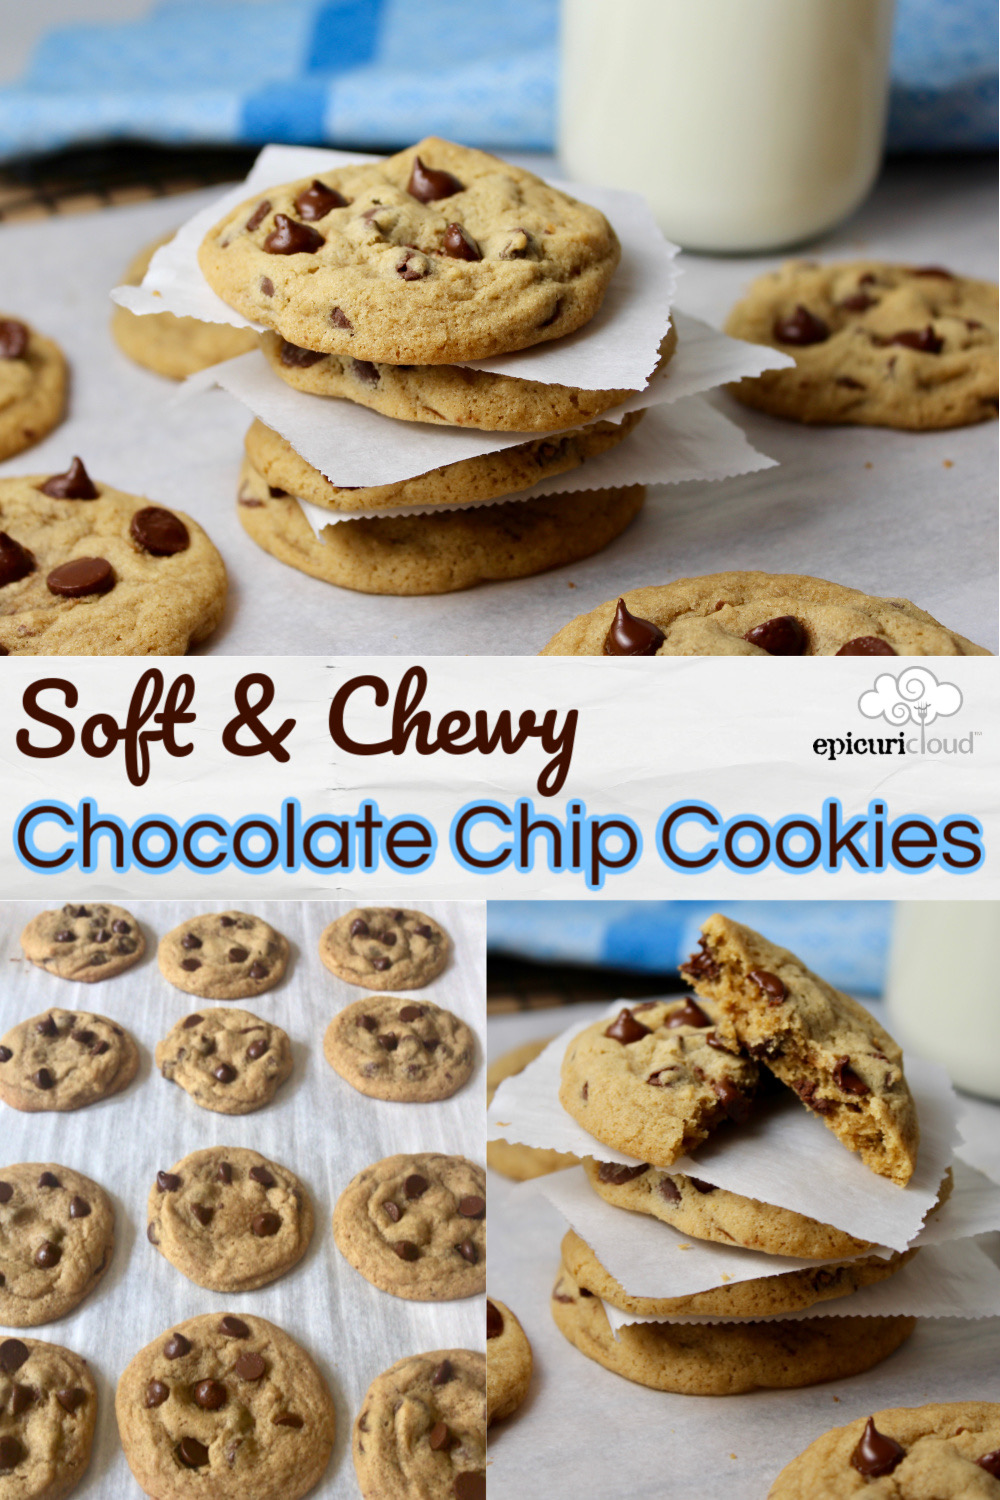
Perfect Picture for Pinterest: ⬇️
These look amazing. Will be baking for this year’s cookie exchange. Great detail on recipe
Hope they love them Cornelia!
Tina can I use the kitchen aid food processor I bought on QVC, $99.00 one? It only has the little plastic mixing thing? I’m not sure if it’s good for chocolate chip cookies.
Thanks
John F Schmidt
Hi John – Thanks for reaching out! Those chocolate chip cookies utilize “creaming” the butter and sugar for several minutes (3-5 min.) to incorporate air – and create the structure for the cookies. I don’t think the food processor can achieve that texture – a stand or hand mixer would be better. The black plastic blade in the food processor works really well for yeast doughs. It creates more of a rolling/kneading motion.
Thank you Tina, see you on QVC.
Tina, those cookies were the best I have ever made. Would you suggest doubling the recipe to make more cookies or just make the dough in two different batches.
John
Just made these using my new KitchenAid stand mixer and it was so easy! The recipe didn’t specify which butter to use so I did unsalted, was that correct?
I use salted butter Dawn!
Hi Tina, I’m a big fan of you on QVC, I need help when I make cookies they always are to well done on the bottom and I follow all the directions I even move the baking sheet to the upper part of the oven, do you have and suggestions for me?
Thank you
John F Schmidt.
Hi John! – Thanks for reaching out! Cookies can be tricky little devils with such short bake times, there’s little room for error. I always use an inexpensive oven thermometer to double check my oven temperature. (You know the metal round ones that can stay in the oven.) I find oven’s are always off temperature and usually not preheated when the oven indicates they are. My oven runs 25 degrees cooler. I like a light colored baking sheet (darker ones attract more heat.) The baking sheet should also be of a decent weight, rather than super thin and lightweight. I would chill the dough before baking and also make sure if making multiple batches, you’re not using a hot baking sheet for subsequent batches. I tend to use parchment paper – although I’m not sure that would affect the darkness of the cookie bottoms. Hope one of those tips helps!
Thank you Tina.
Hi Tina, I got the oven thermometer and boy did it make a difference, I made butter scotch cookies and they came out great the bottoms were perfect. My oven was off about 15 degrees. Thanks for the tips. Looking forward to making chocolate chip cookies.
Thanks.
YAY! that made my day!! Happy Baking John!
Hi Tina I’m watching you on QVC RIGHT NOW with one immersion blender, I’m wondering if you have any suggestions on coconut cookies? I made them with coconut and even coconut flavoring but they are not tasting very coconutty. Any idea ?
John F Schmidt.
Hi John – believe it or not, I don’t think I’ve ever made coconut cookies! I would head to the internet and start reading recipes to see if there are any good ideas for boosting flavor.
Hi Tina, watched you today on QVC I ENJOY SEEING YOU ON QVA IT MAKES MY DAY
Thanks for watching John!
Hi Tina, watching you on QVC, I enjoy when you are on there you are the best presenter on there . Fun watching you make things there.
Thanks so much John! Appreciate the support!