There’s nothing quite like making your own bread! Really gives you a feeling of accomplishment! (and it smells amazing!) This bread bakes up soft and fluffy, yet sturdy enough to slice. It’s great slathered with some butter and makes delicious sandwiches – hello best PB & J ever! The next day I love it toasted with jam or made into french toast!
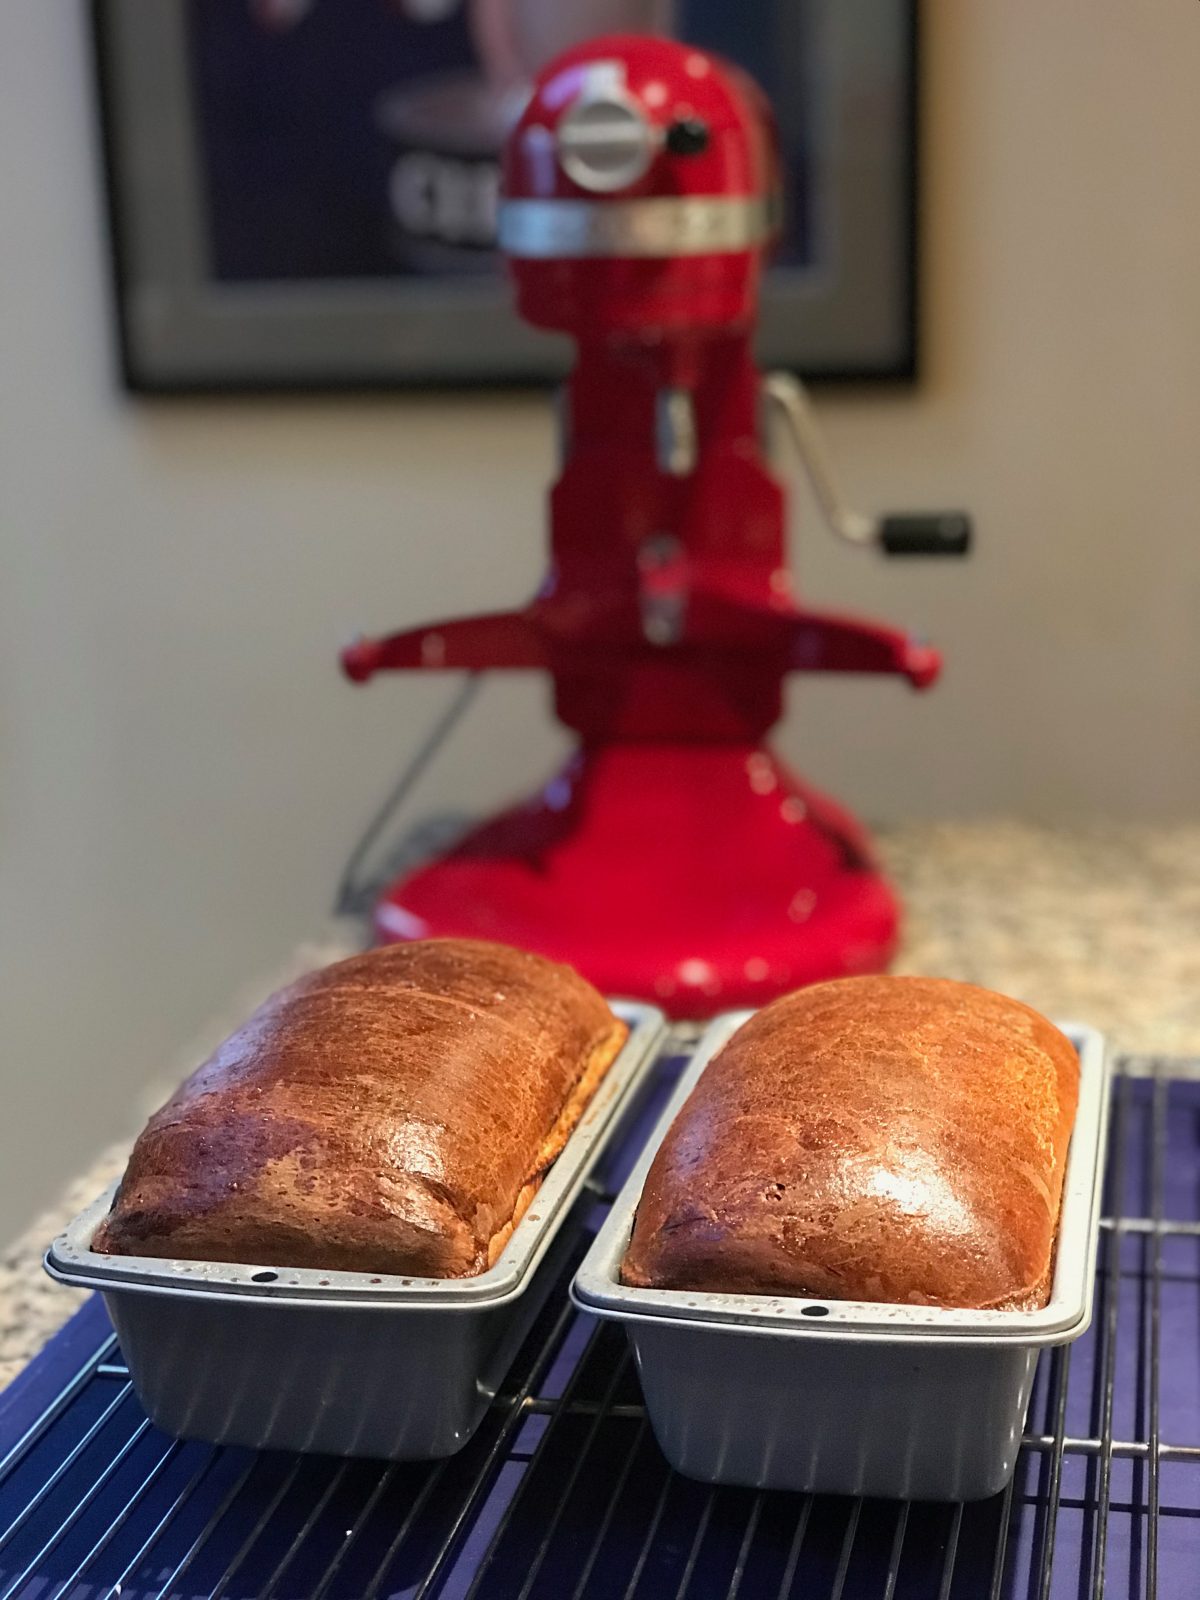
It’s much easier to make homemade bread than you think, just takes a little time for the rising. I love to make this bread when I have several hours at home. This easy homemade bread recipe makes 2 loaves (approximately 1-pound each). You can eat one and freeze or gift one, but I promise you it won’t last long.
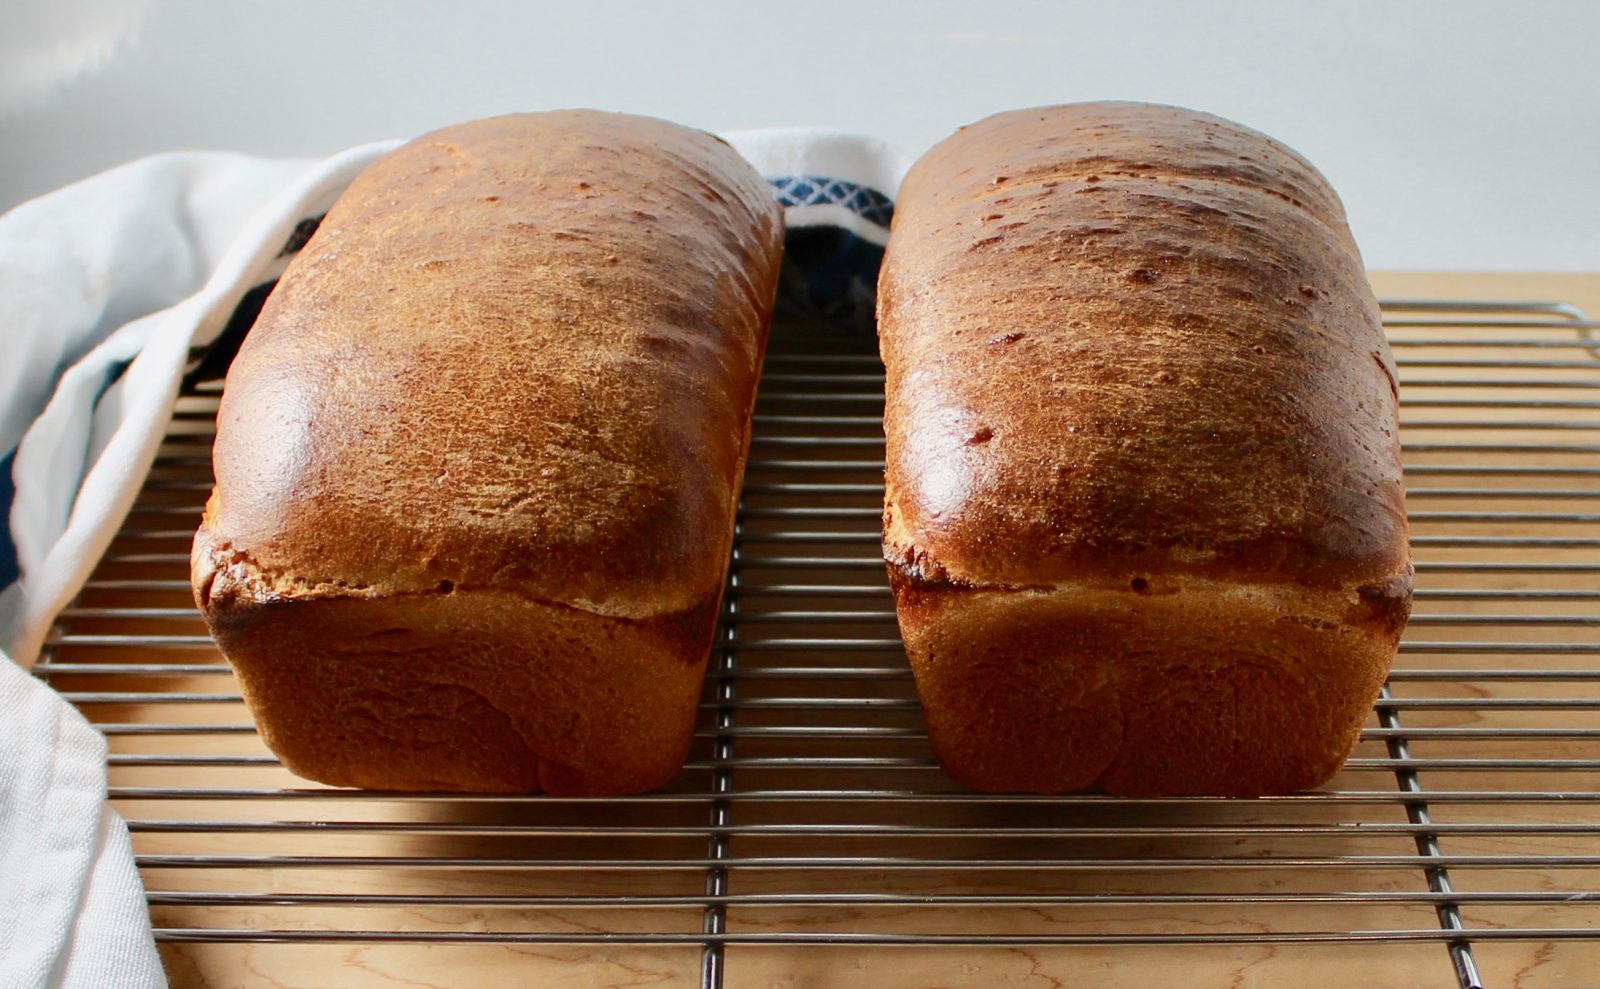
What’s better than homemade bread? How about some homemade butter to slather it with – Check out my recipe here!
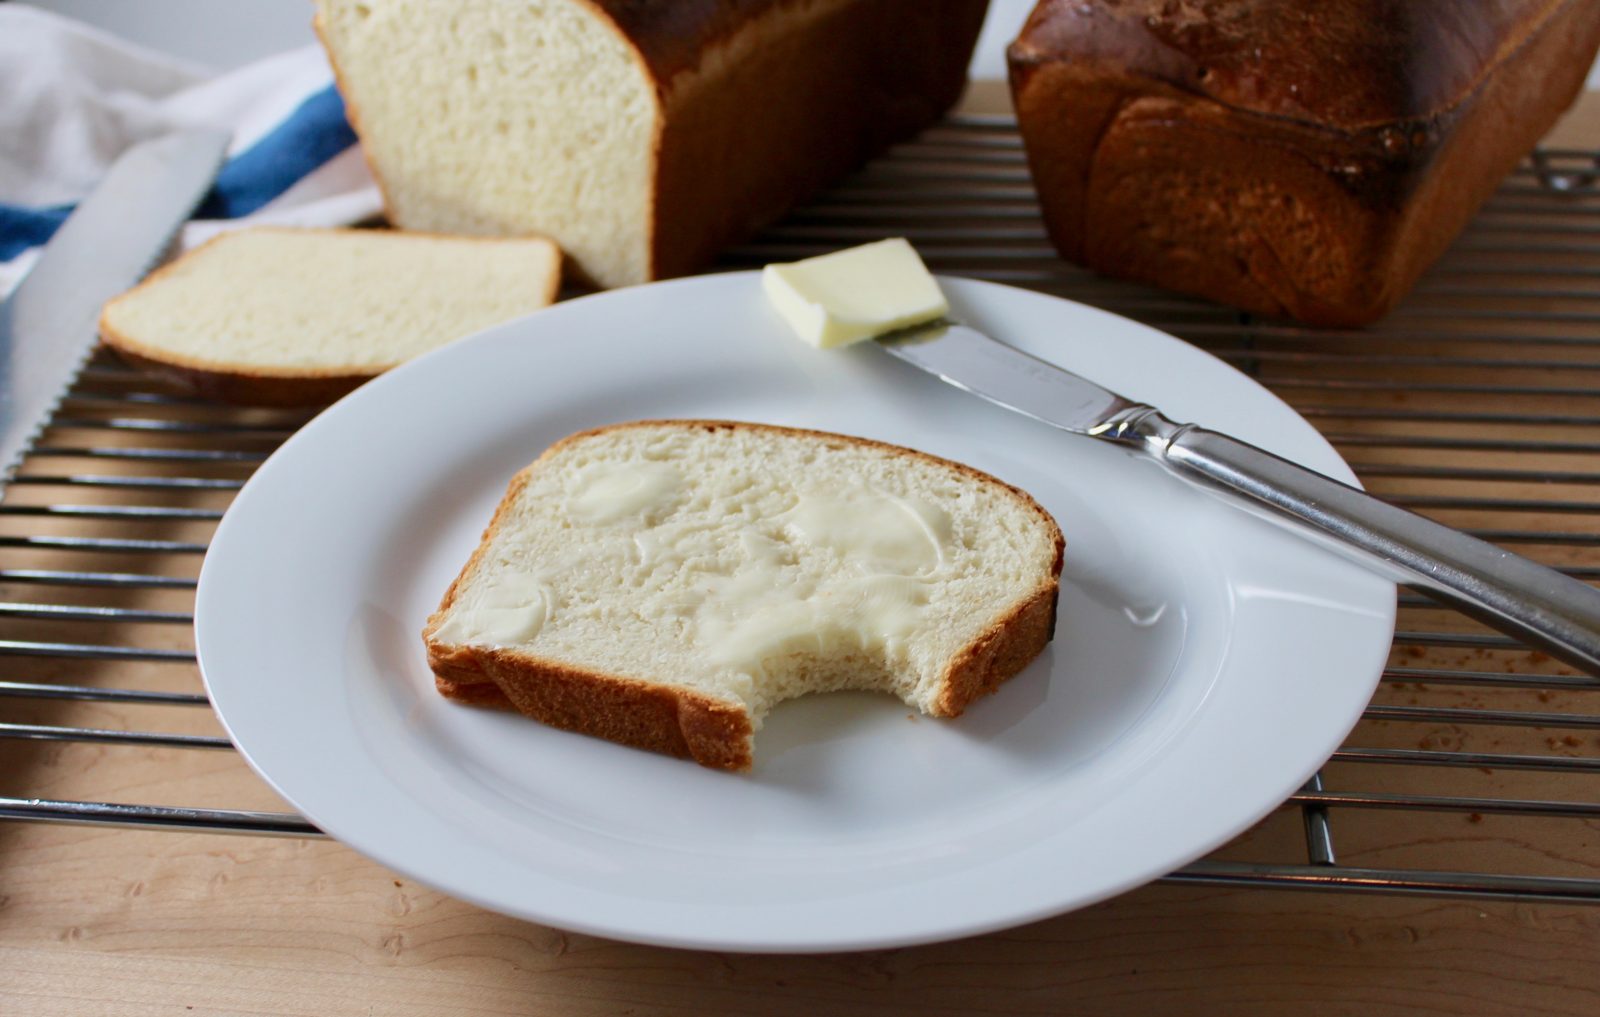
Video: How to Make – Simple Homemade White Bread
Perfect Picture to Pin! ⬇️
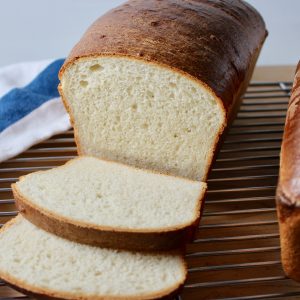
Simple Homemade White Bread
Ingredients
Bread Dough:
- 1 cup warm water 105-110 degrees F.
- 3 tablespoons + 1 teaspoon sugar divided
- 2 packets (.25, 2 1/4 teaspoons each) active dry yeast see note
- 1 cup milk
- 4 tablespoons butter
- 2 teaspoons salt
- 5-6 cups flour see note
- oil or nonstick spray for greasing pans
Egg Wash: optional
- 1 large egg
- 1 tablespoon water
Instructions
Mix/Knead Dough:
- I use my stand mixer with dough hook for mixing and kneading this bread. You can alternatively mix by hand.
- Combine warm water, 1 teaspoon sugar and yeast in mixing bowl. Stir and let sit for 5-10 minutes or until foamy.
- Meanwhile, heat milk and butter in microwave until butter is melted and milk is warmed. Stir in remaining 3 tablespoons sugar and salt until dissolved. Allow milk mixture to cool to 105-110 degrees or until just warm.
- Add 4 cups of the flour to the mixing bowl with the yeast mixture. Begin mixing on speed 2. Add milk mixture and continue mixing.
- Add about 1 cup more flour. Continue mixing, the mixture should start to transform from a shaggy mixture to a kneadable dough. Knead on speed 2. If needed, add more flour a tablespoon at a time until the dough starts to pull away/clean off the sides of the bowl. It should be tacky but not overly sticky. It's okay if it clings a bit to the dough hook.
- Continue kneading for about 2 more minutes. The whole mixing/kneading process should take 5-6 minutes. The dough should be soft, smooth and stretchy. It should be tacky, but not overly sticky.
First Rise:
- Grease a large bowl with some oil or non-stick spray. Gather dough into a ball shape, tucking ends under. Place smooth side down in bowl to get oiled and then place oiled side up in bowl. Cover with a clean kitchen towel or greased plastic wrap and place in a warm spot to rise. Should take 45 minutes - 1 hour (or more) depending how warm your room is.
Form Loaves & Rise Again:
- While dough is rising grease 2, 8-inch loaf pans. After dough has risen and doubled in size, turn out dough onto a lightly floured surface. Cut the dough in half. Gently pat each piece of dough into a rough rectangle about 8-inches wide.
- Like folding paper to go in an envelope; fold the top 1/3 of the dough down, then the bottom 1/3 of the dough up. Pat gently to seal, then roll into log and fit seam side down into baking pan. Press gently to fit dough into the corners of the pan and lightly flatten the top. Lay greased plastic wrap loosely over pans and place in warm place to rise. Should take 30-45 minutes.
- Meanwhile arrange oven rack to lower position, so top of baking bread will reach center of oven. Preheat oven to 400 degrees. F.
- If using an egg wash. With a fork, beat together egg and water in small bowl.
- When dough has risen about 3/4-inch above the edge of the pan, it's ready to bake. Gently remove plastic wrap and brush with egg wash if desired, taking care to not deflate the loaves.
Bake:
- Place in oven and bake 25-35 minutes or until dark golden brown. It will sound hollow when tapped. If you have an instant read thermometer, you can check for doneness by inserting into the center of the loaf from the edge near the pan. It should read about 195 degrees F.
- Allow to cool in pans for about 10 minutes, then remove loaves from pan to cooling rack and allow to cool about 45 minutes or until barely warm. Slice and enjoy!

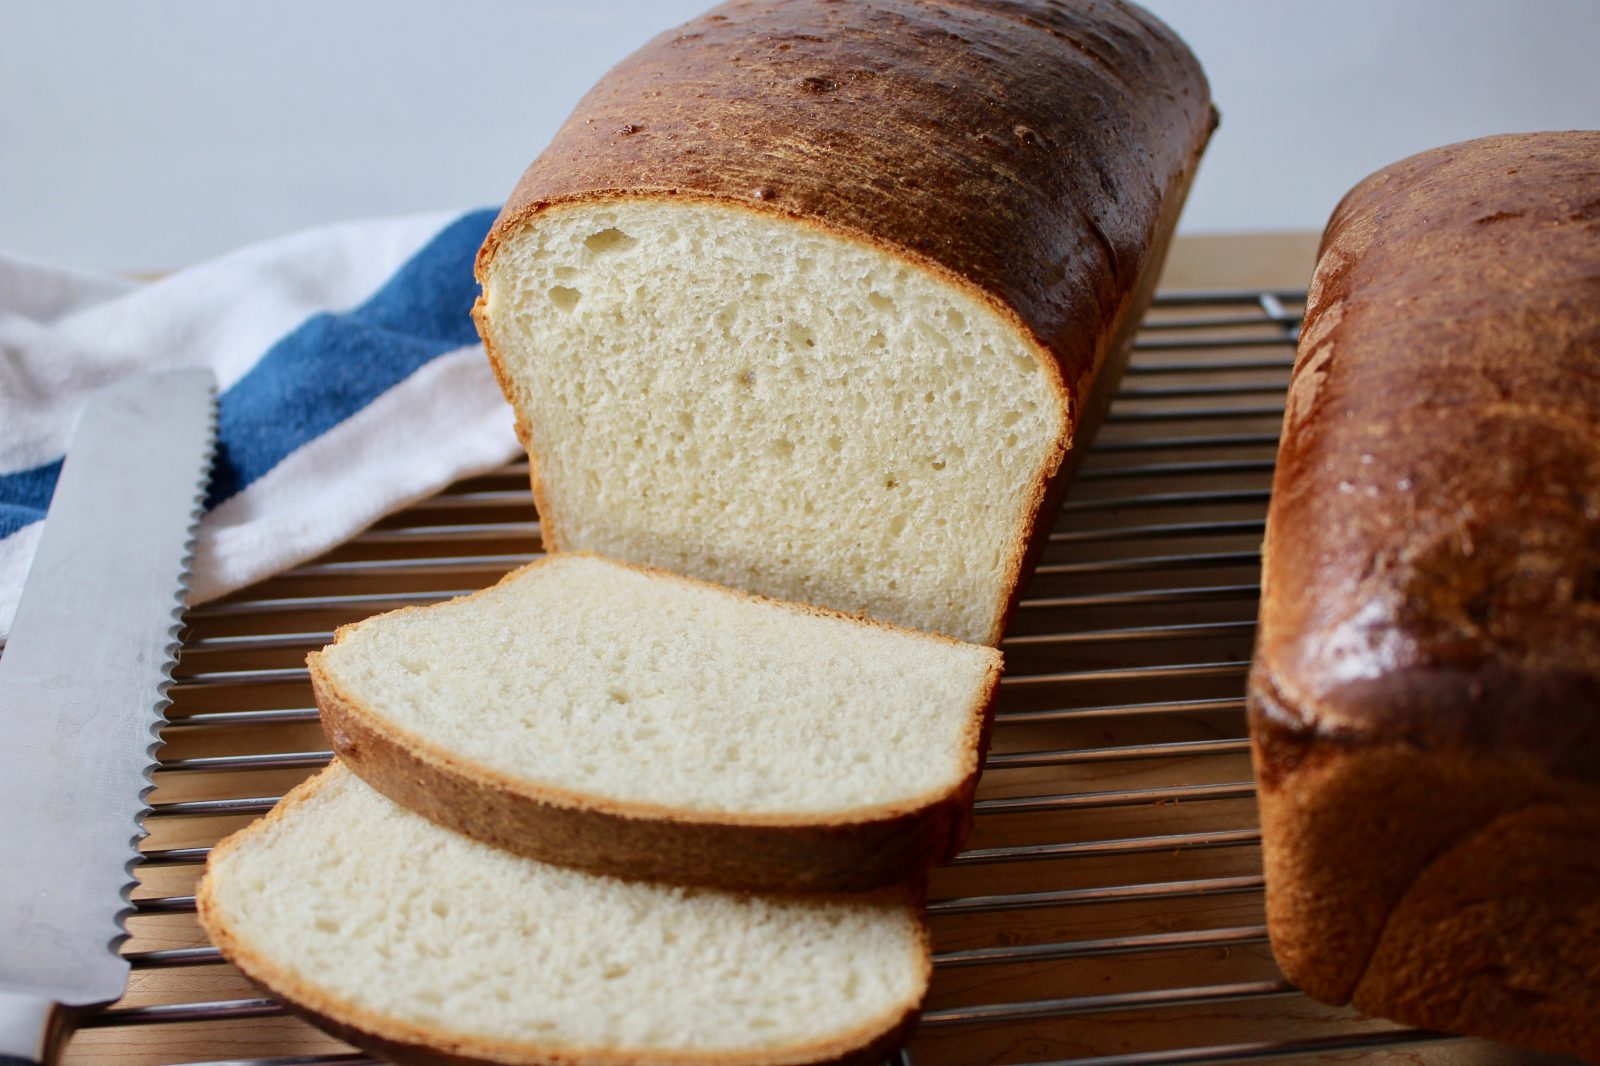
I made this recipe a couple of days ago. The instructions were very easy to follow. I am not a guru when it comes to baking bread, but mine looked just like Tina’s. And the taste…nothing better than homemade bread. It was delicious! My family is thoroughly enjoying this bread. I’m so glad the recipe makes 2 loaves because 1 wouldn’t have been enough. Thank you Tina!
Hi Roxann – Thanks for stopping back to let me know you enjoyed the recipe!! So happy my instructions were clear!! YAY made my day!! TY!
I had the incorrect sized pan so mine was a bit under-tall! However, it rose beautifully and the smell as well as the finished product was excellent! I am solo so I did cut the recipe in half and will attempt again in an 8” loaf pan. You’ve given me hope I can actually bake bread!
Good for you Sharon!! YAY!!
Hi Tina!
Wanted to tell you that my brother made your bread twice already and it was fantastic! He sent pictures etc..
He lives in Kentucky as you know….and I just made one loaf today (only have one pan, LOL) and it was yummy!! Thank you so much! Mine just didn’t look as pretty as yours cause my pan is a bit bigger than an 8 inch pan so it was more flat. But tastes just as good !!
I’m so excited you both enjoyed the recipe!! YAY! Thanks for letting me know!! You can freeze half the dough after the first rise if you want to bake one at a time! Just thaw in refrigerator, then proceed with fitting in pan and doing 2nd rise in pan. Take care Mel!! Hi to your brother!
Oh that’s a great idea I will definitely do that! Thank you!❤️
Second time making. It is so good!! Would love a whole grain recipe.
Hi Nancy!! So glad you’re enjoying! Yes, on my list – to make a whole grain or at least part whole grain version! Take Care!
Love the bread! I made it for the first time yesterday. Tina’s video was perfect for a newbie to bread making. I gave one loaf to family; my husband and I are enjoying the other loaf. I saw that the dough can be frozen after the first rise. How well does it freeze after baking and cooling? Just incase someone has the willpower to put one away. 😂 I’m trying a sourdough next. Tina, please keep those wonderful videos coming.
Thank you Toni!! So glad the video was helpful and the recipe was easy to follow! You can totally freeze one or both loaves after baking! I do this all the time! Make sure to let cool fully, then I usually wrap in plastic wrap and then in foil or in a XL freezer bag. Best wishes to you! Happy Baking!
Tina, I’ve now made this bread many times. My family loves it. I added sesame seeds to the top and that turned out great. Would it work to add Parmesan cheese and rosemary to this recipe? Thanks! Toni
So happy you have enjoyed Toni!! Sounds delicious to me!! Let us know how it turns out!!
I live in Colorado, 5280 feet. How do I adapt recipe for high altitude? Thanks. I can’t wait to try this!!
Hi Gloria – Love Colorado! We like to visit in the summer! I wrote a couple blogs about our trips – check out the “Tasty Travels” tab.
So for high altitude bread, I would have to test the bread myself at that altitude to be able to give you a firm recommendation. Unfortunately I live on the East Coast/sea level. I did find this helpful article from CSU.
Here are a couple more articles:
https://www.wheatmontana.com/content/high-altitude-baking-how-make-your-recipes-work-mountains
https://www.tasteofhome.com/article/baking-yeast-breads-at-high-altitudes/
Really easy and so tasty tried other breads but I get disappointed so I will only do yours.are these temperature for a fan oven thank you Monica from England X
Hi Monica – Thank you! The temperature is not for a convection oven. Take care!
I am currently trying the recipe and its in bowl in oven with just the light on as a heat source. Just waiting the one hour for the rise to finish and then into loaves. Ii noticed that it’s a little firm when i circle formed for the bowl rise is that the way it should be? Anyhow will let you know and if it turns out…next batch will be kaiser rolls.
Hi Raymond – How did the dough look after rising in the bowl? Was it nice and puffy? Double in size? The hour timeline is a guideline, sometime it takes less, sometimes it takes more, depends on a lot of factors. You can always speed up the rise if needed by placing a dish of hot water in your oven.
Was a little intimidated to try bread making at home. I found your video online and after seeing you so many times on QVC it was like having a friend in my kitchen with me. You walked me through it step by step and I had no problem at all. Thank you Tina! Great video and great bread!
Love it Jackie!! Made my day!
Thank you for this recipe. I rather randomly decided to use it as my first attempt at making bread. I am completely amazed at how it turned out. It reminds me of the bread my grandmother used to make when I was younger. Maybe I got lucky, but I’d rather think your instructions (especially the video) are the reason.
I’m a middle aged man that barely cooks anything at all. So if anyone reading this thinks that they can’t do it, just know that you can if you carefully measure and follow these instructions.
The bread does have a buttery flavor that I like, but might be inappropriate for some uses. Just be aware of that.
Thanks again, Tina!
Thanks so much Wayne! I’m so happy you enjoyed the bread recipe!! YAY! – Made my day!
I have made this bread twice and I am really sold on it is easy and simple instructions. The bread tastes beyond good, it reminds of the loaves my mother used to bake and topping with good butter and tomato jam is heaven. Thanks for the recipes.
PS: I recently purchased an older model Kitchen-Aid Classic and the recipe is made for it.
Thanks Dwight! Thrilled that you have been enjoying the bread recipe!
I followed your recipe to a “T” but could not get the dough to form a clean “tacky” ball that cleaned the mixer bowl sufficiently. The dough was very sticky and stretched too much. It felt too “wet”. I live directly on the ocean in South Florida and the day was overcast. Could this have an adverse effect? Any suggestions?
Mike in Vero Beach
Hi Mike! Must be beautiful in Vero beach!! Humidity can play a part. When this happens I like to add just enough flour – a tablespoon at a time – until I reach the consistency I’m looking for. (for me, I’d rather it be a little too wet, than too dry – if that helps?)
I tried this yesterday, made two . My family loved it so much I made two more today.
YAY! great to hear!
I make this bread and followed the instructions to the T but my loaves didn’t rise high. They were just below the rim of the pans. It tasted fine but was heavy since it didn’t rise enough. The yeast was new, I warmed the water to the recommended temperature, exactly as the recipe said.
I was talking with my daughter and telling her about the loved not rising much and she asked me if there was Flouride in our water from the faucet. Yes, there is and she suggested getting Distilled Water for this.
Do you know if fluoride affects yeast?
I hadn’t heard that Sande – will have to research that! What size pans did you use? How long did you let them rise?
Thought this was interesting too: Article – Hard Water and Bread Baking
I’m afraid I did not meet with success. Dough didn’t rise when put in the pan. The first batch was yeasty and flat. What went wrong. My second attempt is looking the same.
Hi Chris – Did the first rise go okay? How long did that rise take? Did it double in size or more? Maybe kneaded too long, maybe rose too much on the first rise? Where do you rise the bread? (too hot?)
Trying this recipe today but I want to make 1 long loaf instead of 2 8 in loafs. Will this recipe work and if so what adjustments would I need to make?
Hi Monica – I haven’t tried this – so hard for me to say. If you have a long pan with the same width dimensions – theoretically it should work.
Was absolutely to die for and threw it all in one pan. Been baking bread off and on for past thirty years and this by far is the best recipe. Rose up like it had a crown on. Perfect crumb, family loved it. Thank you!
Love it Susan! Thanks for letting me know! What size pan did you use? – in case others would like to try 1 large loaf.
Wow! Finally! I found a recipe that worked for me, AND IT WAS DELICIOUS!! Thank you!!! (Sorry about all of the exclamation points.)
Hello
Would it be possible to make this into hamburger rolls, and if so how do I do it? Thanks for your great recipes!
Hi Marty – I do have a sandwich version – Homemade Sandwich Rolls
Is there a way to convert this recipe to whole wheat?
Hi Jenni – I haven’t tried it myself, but I have with other breads. Generally, you can swap out 1/2 the total amount of all-purpose flour with whole wheat flour without too much difference. (in my experience the loaves are a little less high.) To swap all the flour for whole wheat would affect the outcome a lot more.
I’m so disappointed. I’m a yeast bread baking with no failures in the past. I followed your recipe and everything was looking great I was eager to have found a new bread recipe.
The dough rose beautifully and my husband got excited….he loves homemade bread. But as it was baking it got so dark and started to smell as if it was beginning to burn. From that point on bad just went to worse. If this had been my first try baking with yeast I’d have put my pans away…never to be seen again.
I’d rate this recipe as a 3. It rose beautifully and smelled great until it began smelling like it may burn. I’m not looking forward to begin searching for another recipe.
Hi Cheri – Thanks for reaching out – That sounds so strange – maybe check your oven to make sure it’s holding the correct temperature? I haven’t experienced or heard of that issue before. Take care!
Great recipe, but even better you are a fantastic teacher.
I am new to baking bread and followed the recipe word by word. However the final product turned out too dense, though it tastes just fine.
Any ideas where I can improve?
Thanks!!!
I have never been able to make any kind of leavened bread, until now. Thank you so much for, not only the recipe, but the video walk through. Thank you, thank you, thank you! The advice about the oven thermometer was instrumental in my success. I discovered that my oven’s temperature settings are not even close. I had to set it at 370 to get 400 degrees.
My wife is thrilled that we have fresh, homemade bread.
So glad it was helpful! Enjoy the bread! Take care!
Okay, I was able to follow the recipe, and it raised both times wonderfully… however, as soon as I took off the plastic wrap from the loaf pans to put in the oven, both loaves fell… a lot 🙁 how can I avoid this??
Thanks.
Hi Teresa – sorry to hear that. Did you grease the plastic wrap so it wouldn’t stick to the dough? – I wonder if the plastic wrap stuck to the dough and caused the deflation –
Could I divide into small balls and use this has a dinner roll, ?
Hi Joseph! – I do have a yeast roll recipe – Makes 12 Rolls. They have the basic same ingredients in different proportions. The bread recipe would yield a lot more rolls.