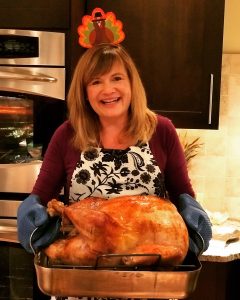
It’s Almost Turkey Time!!
We’ve been hosting our family Thanksgiving feast for over 7 years now. We usually host between 25-30 people. Luckily, everyone pitches in!
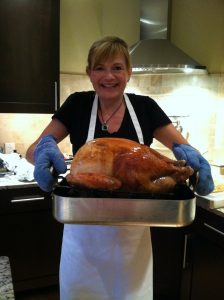
I always make the 2 turkeys, the stuffing (technically dressing as I don’t stuff the birds), the gravy and some other goodies. I know dry brining and spatchcock turkeys are all the rage, but our turkeys always turn out delicious and juicy with a wet brine method, so that’s what I’m going to continue with for now. I make one turkey earlier in the day and carve it, then the 2nd turkey I schedule to finish at our dinner time.
I buy 2, 18-20 pound turkeys at our local farmer’s market. You want to make sure any turkey you brine doesn’t already have a saline solution added – sometimes they’re labeled “pre-basted” or “pre-brined” – you could end up with a too salty turkey if you brine a turkey that already has added salt.
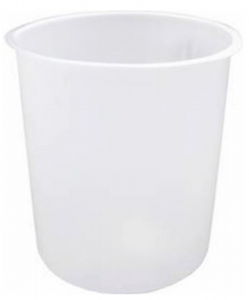
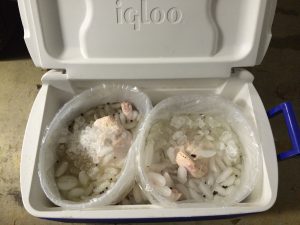
When brining you need to keep the turkey(s) submerged in the brining liquid for about 8-16 hours. You also need to keep the turkey(s) cold. I don’t have enough refrigerator space for 2 big turkeys so I use a cooler in the garage. I discovered that 5-gallon paint bucket liners from the paint store work great for submerging the turkey(s) in the brine and I can fit two in 1 large cooler. They’re inexpensive and flexible so you can nestle them into your cooler. You can line the bucket liners with a large oven or brining bag if you like. I buy several bags of ice and pour ice over and around the turkeys in their bucket liners. You’ll want to make sure to clean and disinfect your cooler really well afterward.
I always take notes and refer to them each year when it comes time to roast the bird, but I always like to double-check myself on timing, temperatures etc. There are great online resources available if you have questions:
Herb Brined and Roasted Turkey
Ingredients
- 1 14-20 pound fresh or thawed turkey Not seasoned or pre-brined - check the ingredients to make sure it doesn’t already have salt added, if it does, additional brining could make it too salty, 14 to 20 pound
The Brine:
- 1 cup coarse kosher salt
- 1/2 cup light brown sugar
- 1 gallon low-sodium chicken stock
- 1 tablespoon black peppercorns
- 3 bay leaves
- 1 lemon zested and quartered
- 3 garlic cloves smashed or roughly chopped
- 3 sprigs rosemary
- 3 sprigs thyme
- 1 sprig sage about 8 leaves
- 1 gallon heavily iced water
- Several bags of ice if using cooler method
The Aromatics:
- 1 lemon quartered
- 1 onion quartered
- 1 cup water
- 4 sprigs rosemary
- 6 leaves sage
- 4 sprigs thyme
- Extra sprigs sage for garnish if desired
- Canola oil
Instructions
- Note: Make sure your oven is clean before roasting turkey to prevent any smoking.
MAKE THE BRINE:
- The day before you want to cook your turkey (or earlier) make your brine.
- Combine the stock, salt, brown sugar, peppercorns, bay leaves, lemon zest, lemon quarters, garlic, rosemary, thyme and sage in a large stockpot over medium-high heat. Stir occasionally to dissolve solids and bring just to a boil. Then remove the brine from the heat, cool to room temperature, and refrigerate.
- You want to brine your turkey for approx. 8-16 hours. So you’ll want to count back from when you need to put your turkey in the oven. I put mine in the brine in the evening before the day I want to cook it, it brines all night. I take it out of the brine and put my turkey in the oven the next day.
BRINE THE TURKEY:
- If you have tons of room in your refrigerator you can brine in a large container or brining bag in your refrigerator. I brine 2 turkeys each year in a cooler in the garage. Each turkey gets placed in a 5-gallon paint bucket liner. You can buy them at the paint store for a few dollars. If you want, you can line the paint bucket liners with large brine/oven bags.
- Make sure to remove any innards from the inside of the turkey and give it a rinse. Then place turkey in your brining container.
- Pour the cooled brine over the turkey and immediately follow with the gallon of ice water.
- If using a cooler, I add ice on top of the turkey and all around the bucket in the cooler. Cover with plastic wrap or foil and close lid of cooler. I sometimes have to put something on top to weigh the lid down.
- Refrigerate or keep in iced cooler for 8 to 16 hours.
ROASTING:
- Preheat the oven to 475 degrees F. Remove the bird from brine and rinse inside and out with cold water. Discard the brine. If cooler was used, you will need to rinse and disinfect cooler and any buckets used. I recycle the bucket liners.
- Place the bird on roasting rack inside roasting pan and pat dry with paper towels. If any part of the turkey overhangs the pan, tuck some foil around the overhanging part so it doesn’t drip onto oven floor and cause smoking.
- Combine the lemon quarters, onion quarters and 1 cup of water in a microwave safe dish, cover with plastic wrap or waxed paper and microwave on high for 3 minutes. Add the warmed onion, lemon and herbs to the turkey cavity.
- Optional garnish: If you want to, use your hands to gently loosen the skin from the turkey breasts, slip a sprig of sage between the skin and the turkey breast on each side.
- Tuck the wings underneath the turkey and tie the legs with cotton kitchen string. Coat the skin with canola oil. (If the wings are too hard to tuck, wrap the tips in foil so they don't burn.)
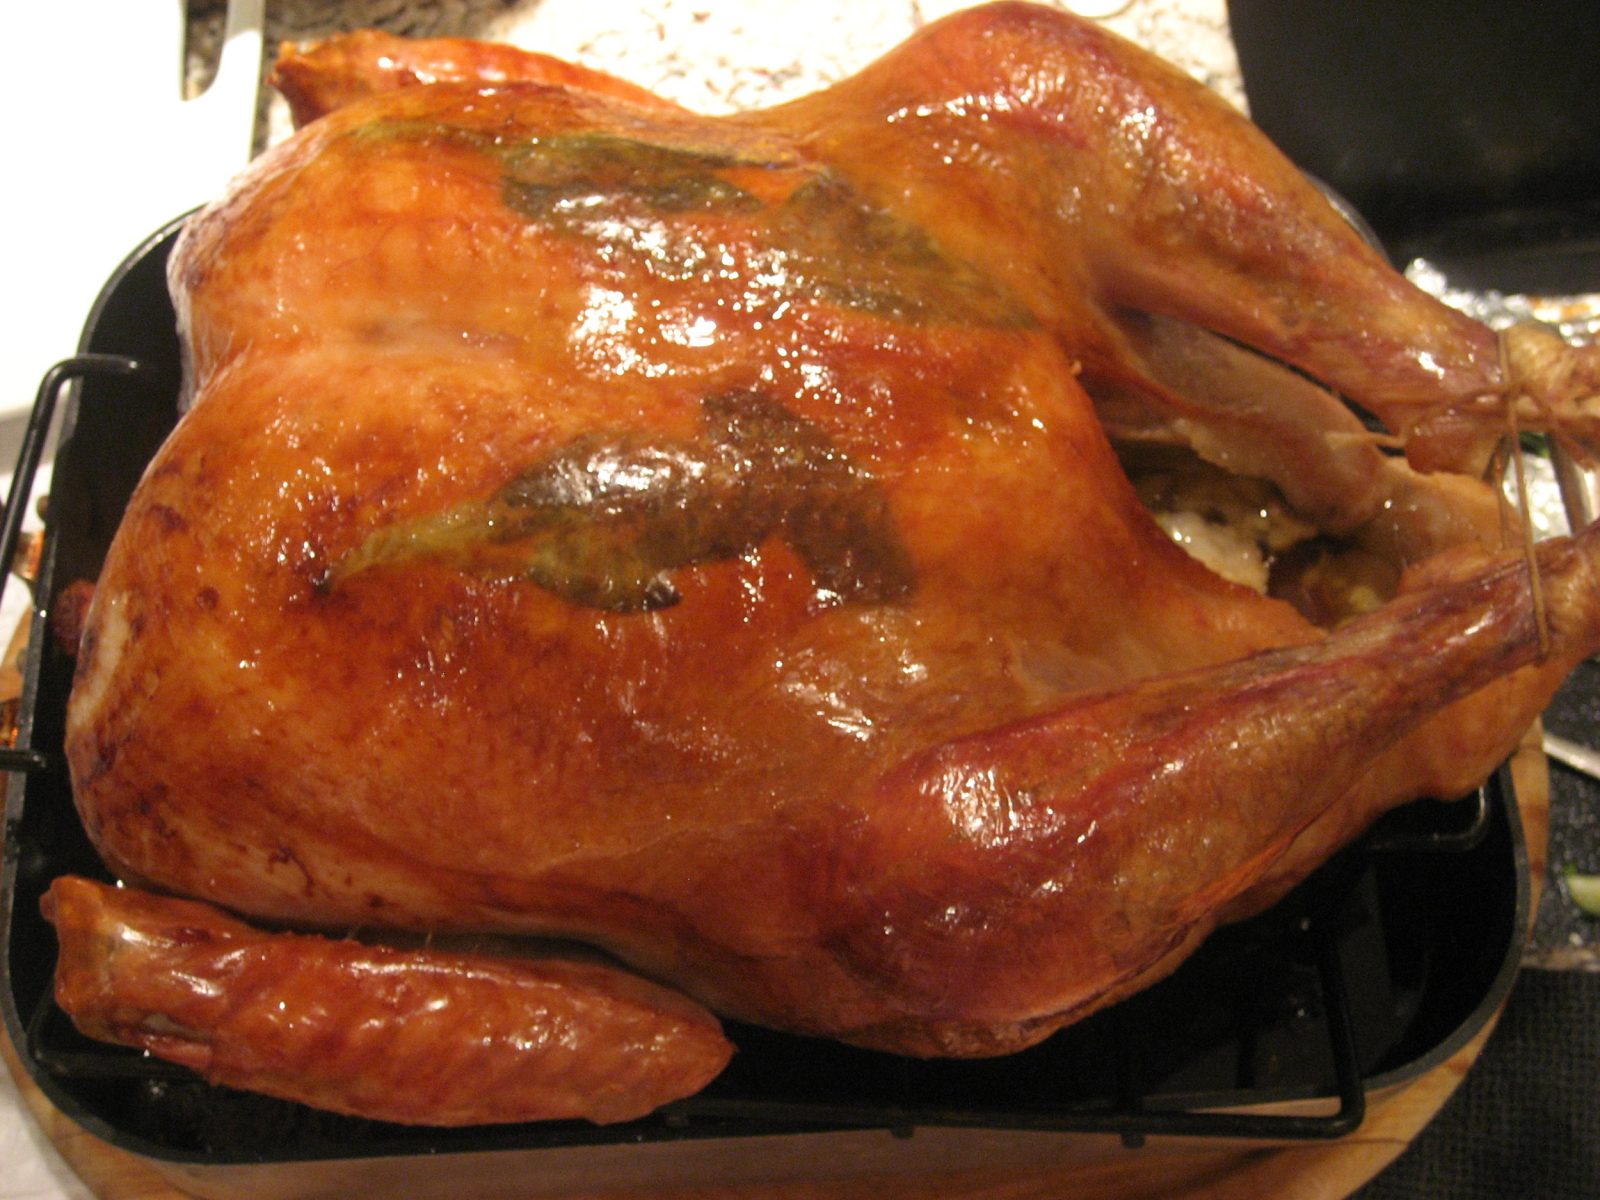
- Roast the turkey on lowest level of the oven at 475 degrees F for 30 minutes.
- Insert a probe thermometer into thickest part of the breast and reduce oven temperature to 350 degrees F.
- Roast for approx. 10 - 15 minutes per pound. You can baste every 30 minutes if you like. (Basting can help give you that all-over browned color.)
- If the turkey skin becomes too dark, you can cover loosely with foil.
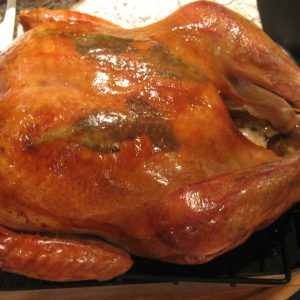
- Roast until the thickest part of the breast is 161-165 degrees F. I usually double check by wiggling the legs, they should be very loose and wiggly. It's a good idea to double check the temperature occasionally with an instant read thermometer.
- My 17-19 pound turkeys take approx. 4 - 4 1/2 hours including resting time. Count on about 15 minutes per pound for roasting.
- When the turkey is done, remove from oven, tent with foil and rest 20-30 minutes before carving.
Leave a Reply